> Version: 1.0.4
> Updated: 2026-06-18
> Website: mistlab.dev · Download: GitHub Releases
This manual is for users who use MistTerm to connect to servers, work in terminals, and transfer files. It does not cover compiling source code or development; for developer docs, see the docs/ directory in the repository.
3. Quick Start in Five Minutes
9. Monitoring & Port Forwarding
10. AI Assistant
13. Credentials, Logs & Preferences
15. FAQ
MistTerm is an SSH terminal client that helps you:
- Save multiple server connections and open terminals with one click
- Upload and download files via a graphical interface (SFTP)
- Save frequently used command templates (snippets) to avoid repetitive typing
- Monitor server CPU, memory, disk, and more
- Optional: AI-assisted command explanation, team-shared snippets
Supports Windows and macOS.
1. Go to GitHub Releases
2. Download the installer for your system:
- Windows: MistTerm-*-windows-x86_64-setup.exe, double-click to install
- macOS: .dmg, drag into the Applications folder
3. Launch Mist (or MistTerm) from the Start menu / Launchpad
No separate OpenSSH installation is required; you can connect to remote Linux servers right away.
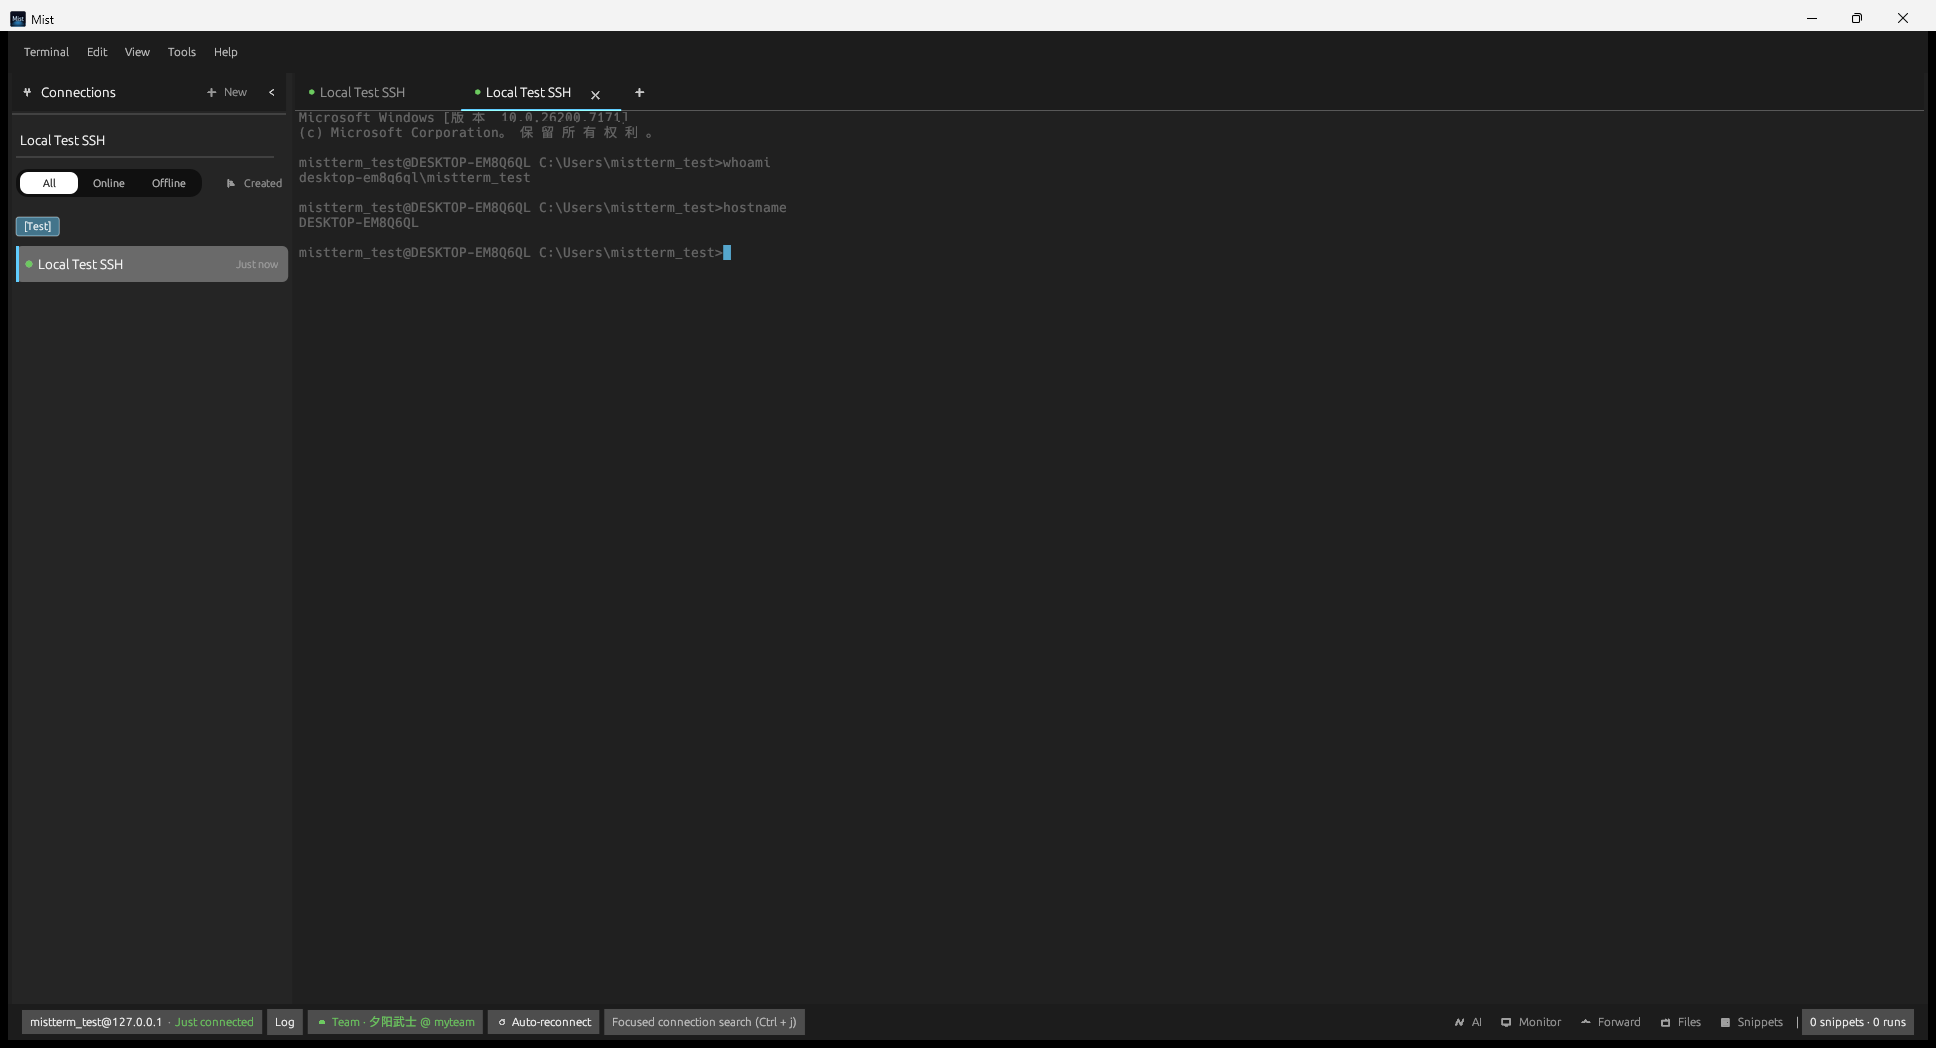
On startup, the main window appears: the left side shows the session list, the center is the workspace (terminal appears after connecting), the top has the menu bar, and the bottom has the status bar.
*Fig 2-1: Main interface with an active SSH connection*
Connections, passwords, snippets, and other configuration are stored locally in your user directory (encrypted), for example:
- Windows: %APPDATA%\mistterm\
- macOS: ~/Library/Application Support/mistterm/
Do not edit these files manually; use the in-app interface to make changes.
| Step | Action |
|------|--------|
| 1 | Press Ctrl+N (Mac: ⌘N) to open "New Session" |
| 2 | Fill in name, host IP/domain, port (default 22), username, password or key |
| 3 | Click Save & Connect, or double-click the session in the sidebar |
| 4 | Type commands in the terminal, e.g. ls, cd, top |
| 5 | To transfer files: menu View → SFTP, or click Files in the bottom bar |
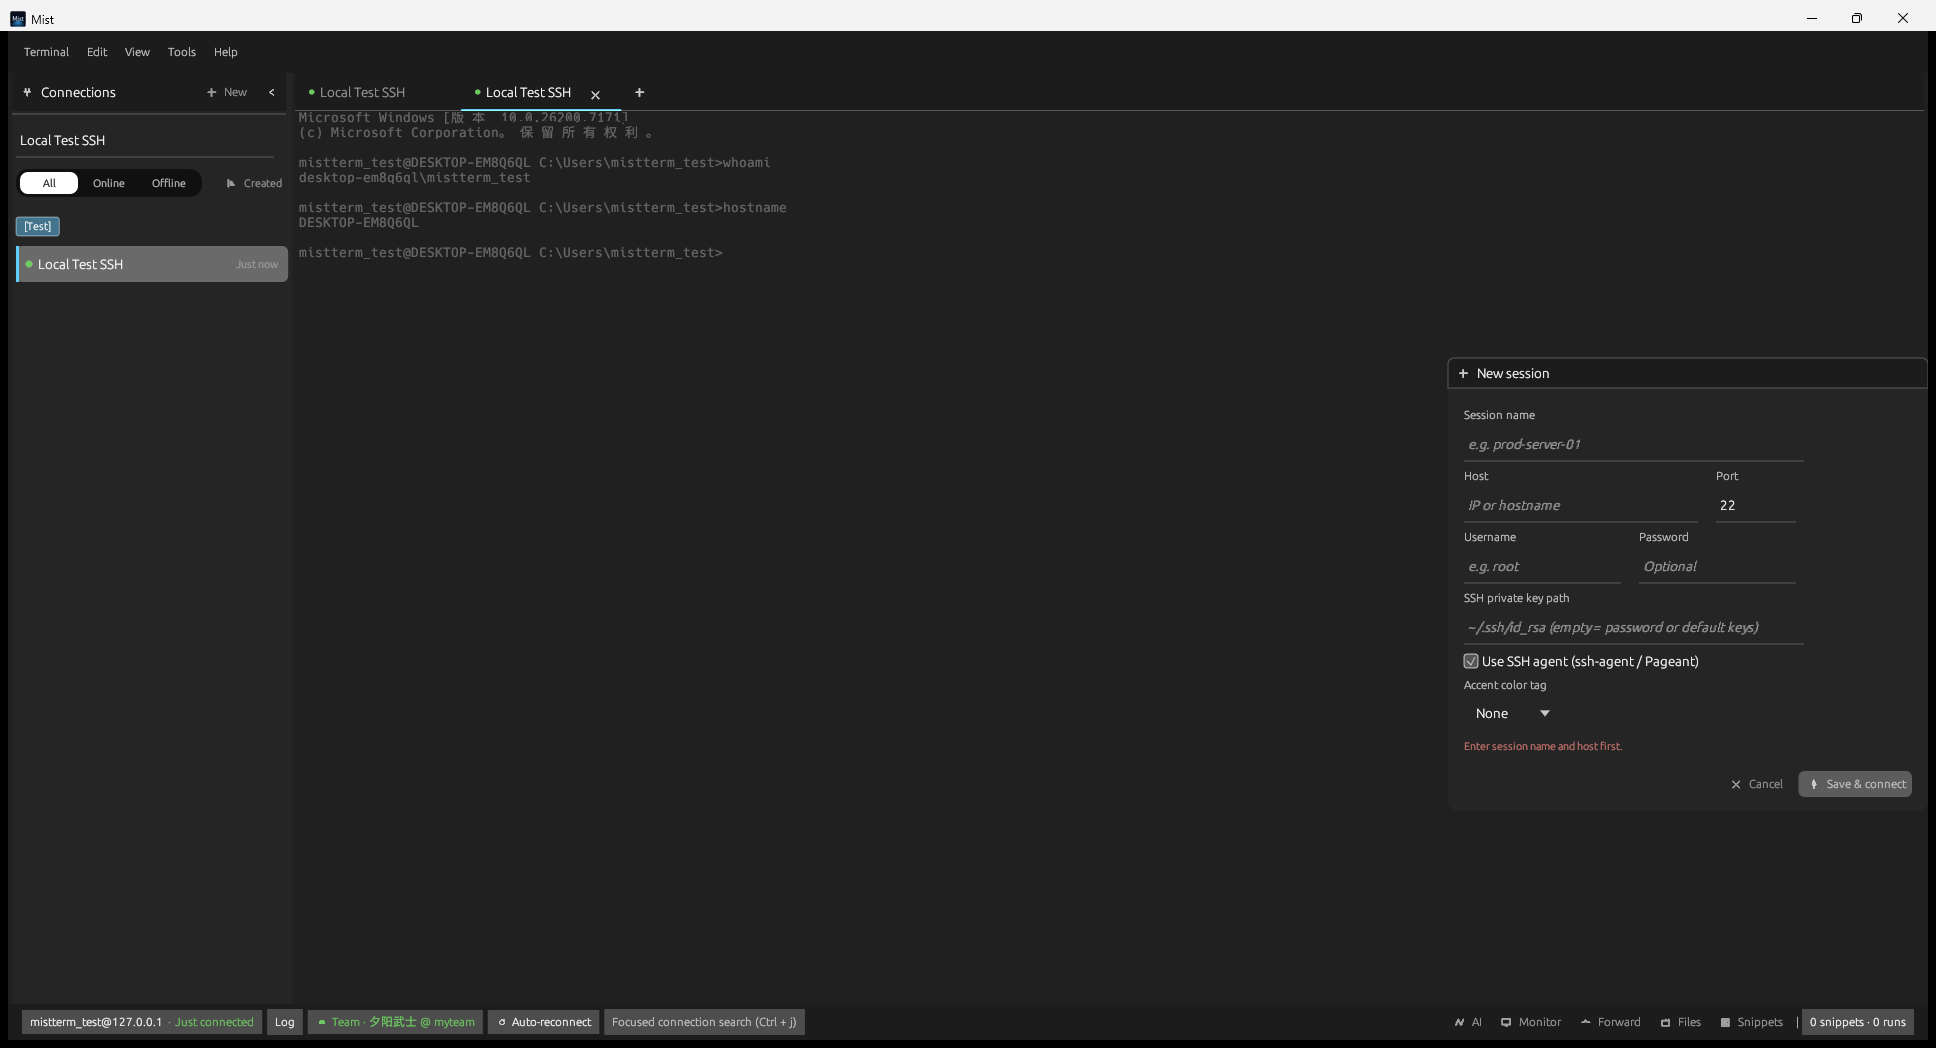
*Fig 3-1: New Session*
| Area | Location | Description |
|------|----------|-------------|
| Top menu bar | Top of window | Terminal, Edit, View, Tools, Help |
| Session list | Left sidebar | Saved connections, supports grouping and search |
| Workspace | Center | Terminal tabs; type commands here after connecting |
| Side panels | Right (on demand) | SFTP, Monitor, Snippets, AI, etc. |
| Status bar | Bottom of window | Connection info and quick access: AI / Monitor / Forward / Files / Snippets |
| What you want | How to open |
|----------------|-------------|
| New/Edit connection | Ctrl+N / select in sidebar then Ctrl+E |
| Open SFTP | View → SFTP or bottom bar Files |
| View CPU/Memory | View → Monitor or bottom bar Monitor |
| Command snippets | Ctrl+K or bottom bar Snippets |
| AI Assistant | Ctrl+Shift+A or bottom bar AI |
| Preferences | Ctrl+, |
| Help & shortcuts | Help → Quick Start / Keyboard Shortcuts or Ctrl+H |
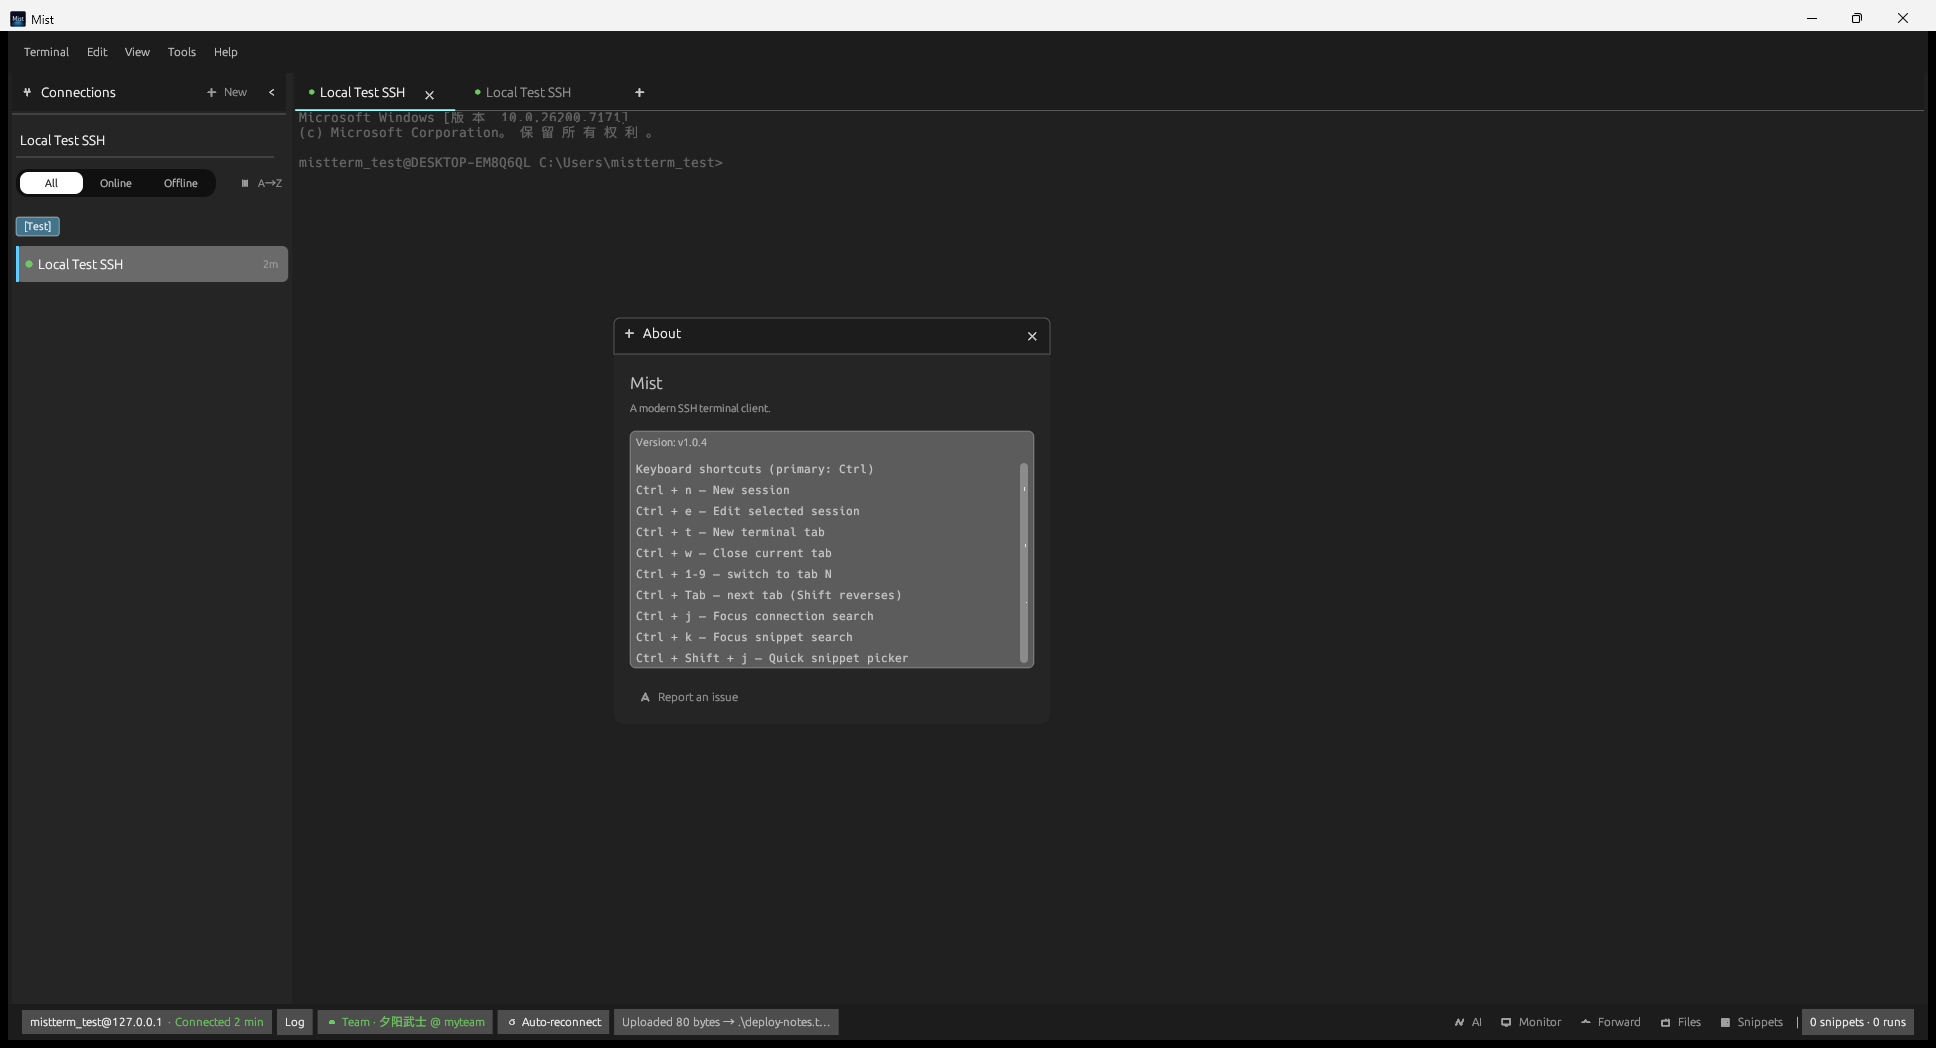
*Fig 4-1: Sidebar session list (groupable, searchable)*
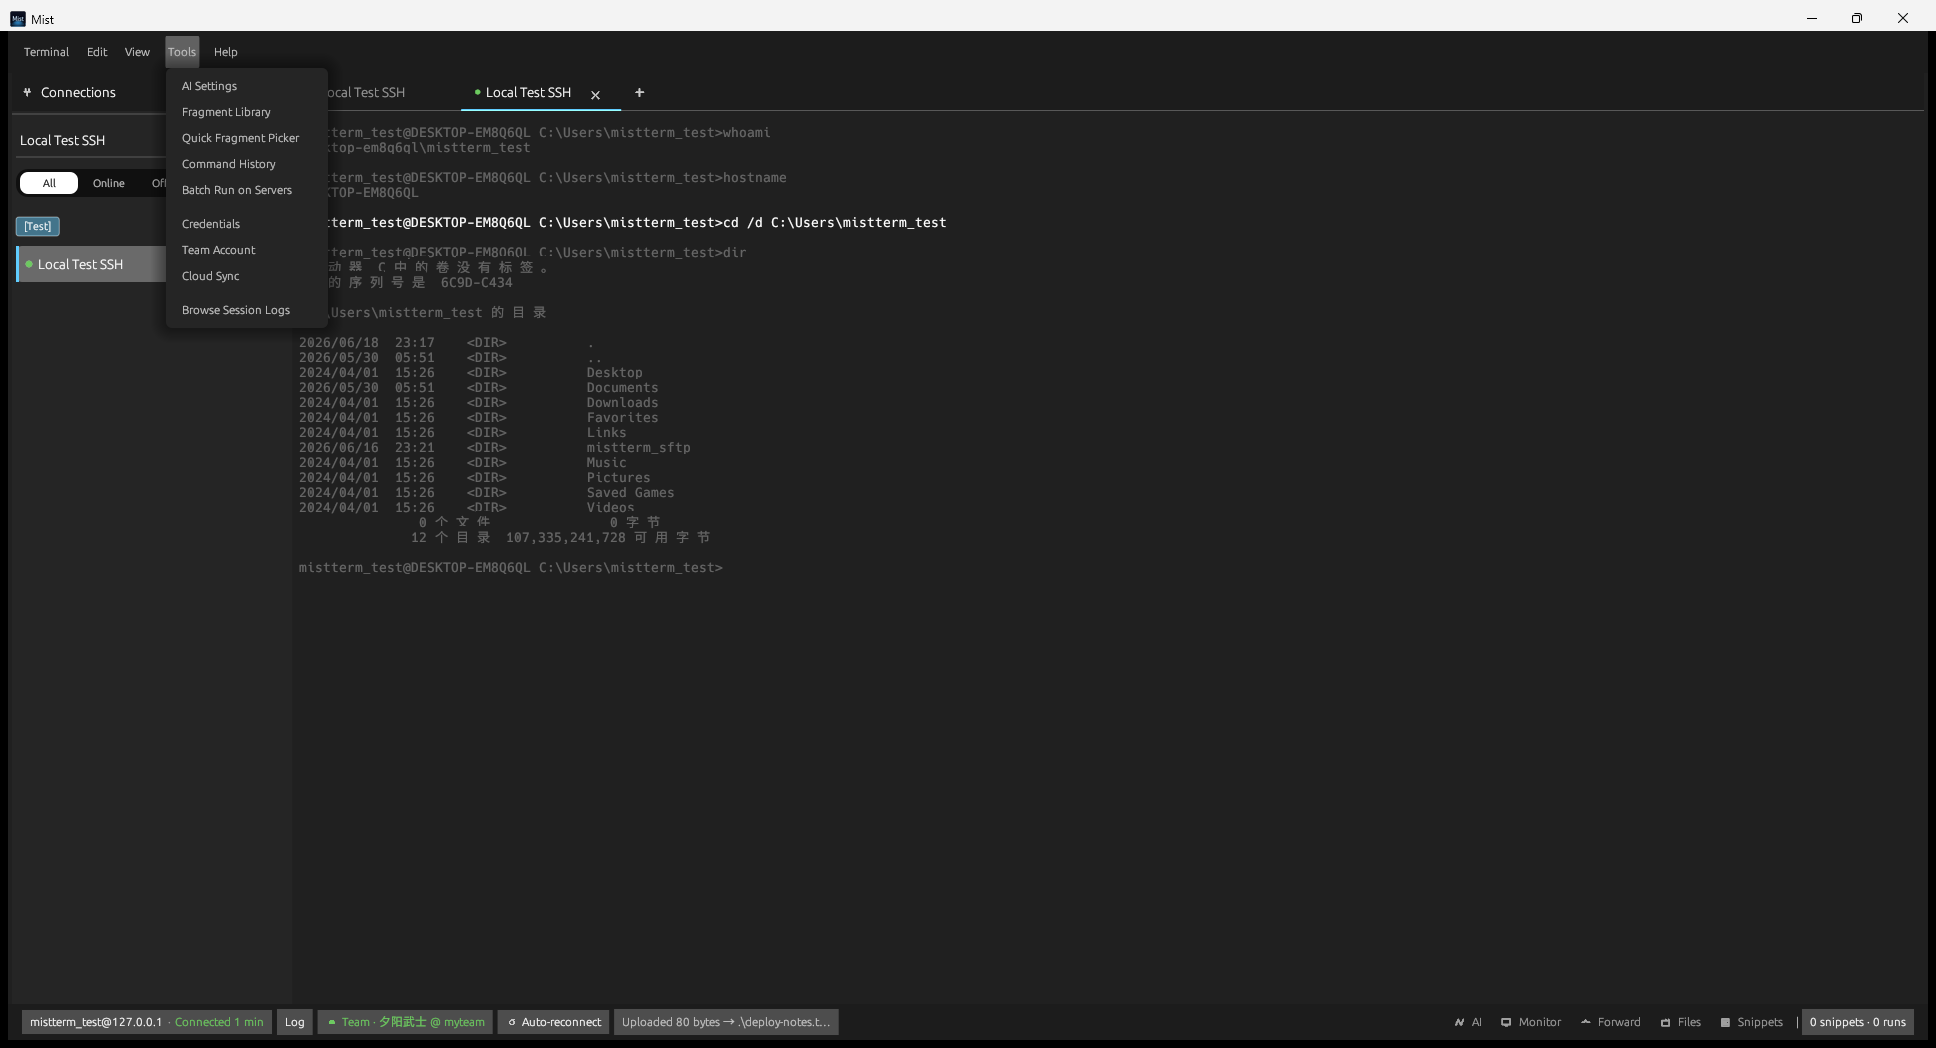
*Fig 4-2: View menu — toggle side panels*
1. Ctrl+N to open the dialog
2. Fill in:
- Session Name: for easy identification, e.g. "Prod Web-01"
- Host: IP or domain
- Port: usually 22
- Username
- Password or private key file path
3. Optional: uncheck "Use SSH Agent" if using password-only login
4. Click Save & Connect
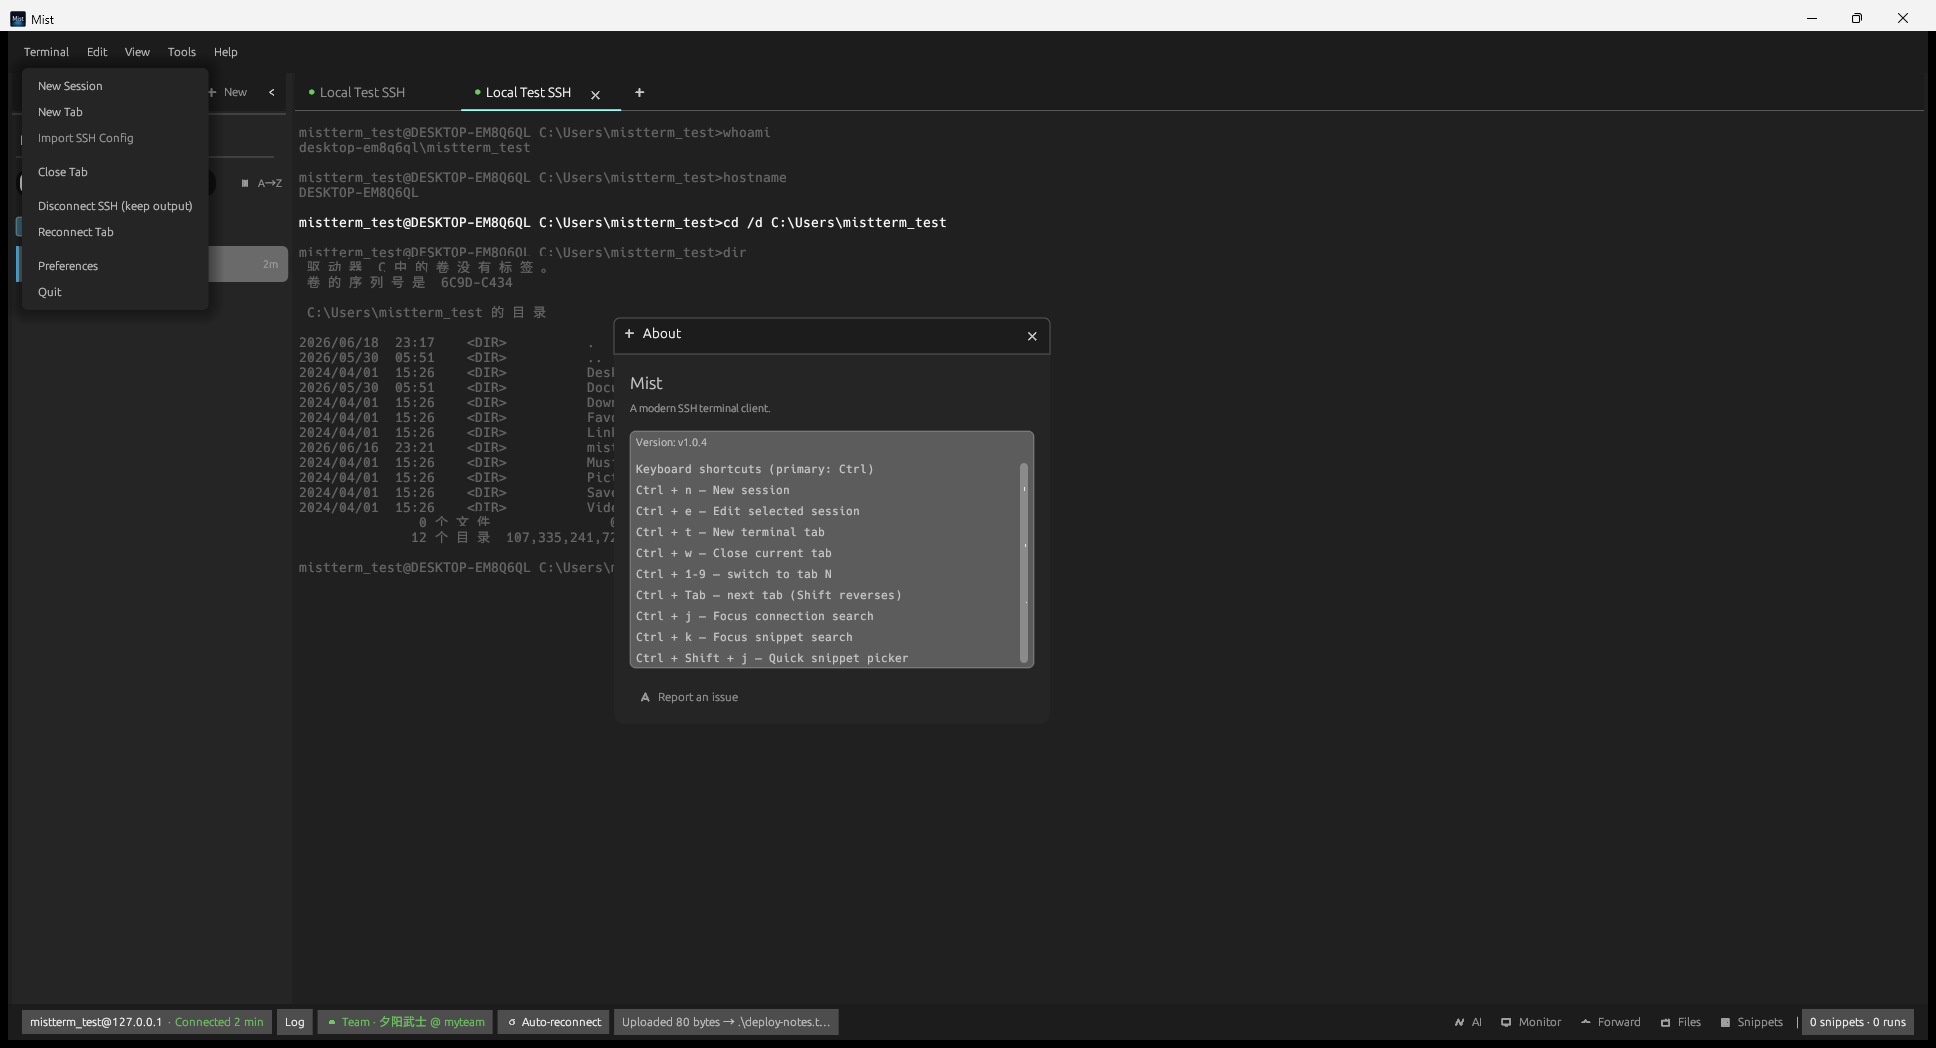
*Fig 5-1: You can also use Terminal → Import SSH Config to batch-import from an existing ~/.ssh/config*
| Method | Use Case |
|--------|----------|
| Password | Server allows password login |
| Private key file | Local .pem / id_ed25519, etc. |
| SSH Agent | ssh-agent / Pageant running with key loaded |
| Jump host | Configure ProxyJump in advanced options (same as OpenSSH) |
- Connect: click a session in the sidebar → Ctrl+T for a new tab, or double-click the session
- Search sessions: Ctrl+J to focus the sidebar search box
- Auto-reconnect: enable KeepAlive / auto-reconnect in session settings
- The bottom bar shows username@host · Connected when successful
Passwords and session info are encrypted locally. When switching computers, you need to reconfigure or restore from backup. Config files are in encrypted format — opening them in a text editor will show garbled characters, which is normal.
- After connecting, type commands in the terminal area and press Enter to execute
- Select text with the mouse to copy; Ctrl+V to paste (Mac: ⌘V)
- Supports colored output, vim, htop, and other common TUI programs
- Tabs: Ctrl+T for new tab; Ctrl+W to close current tab; Ctrl+Tab to switch tabs
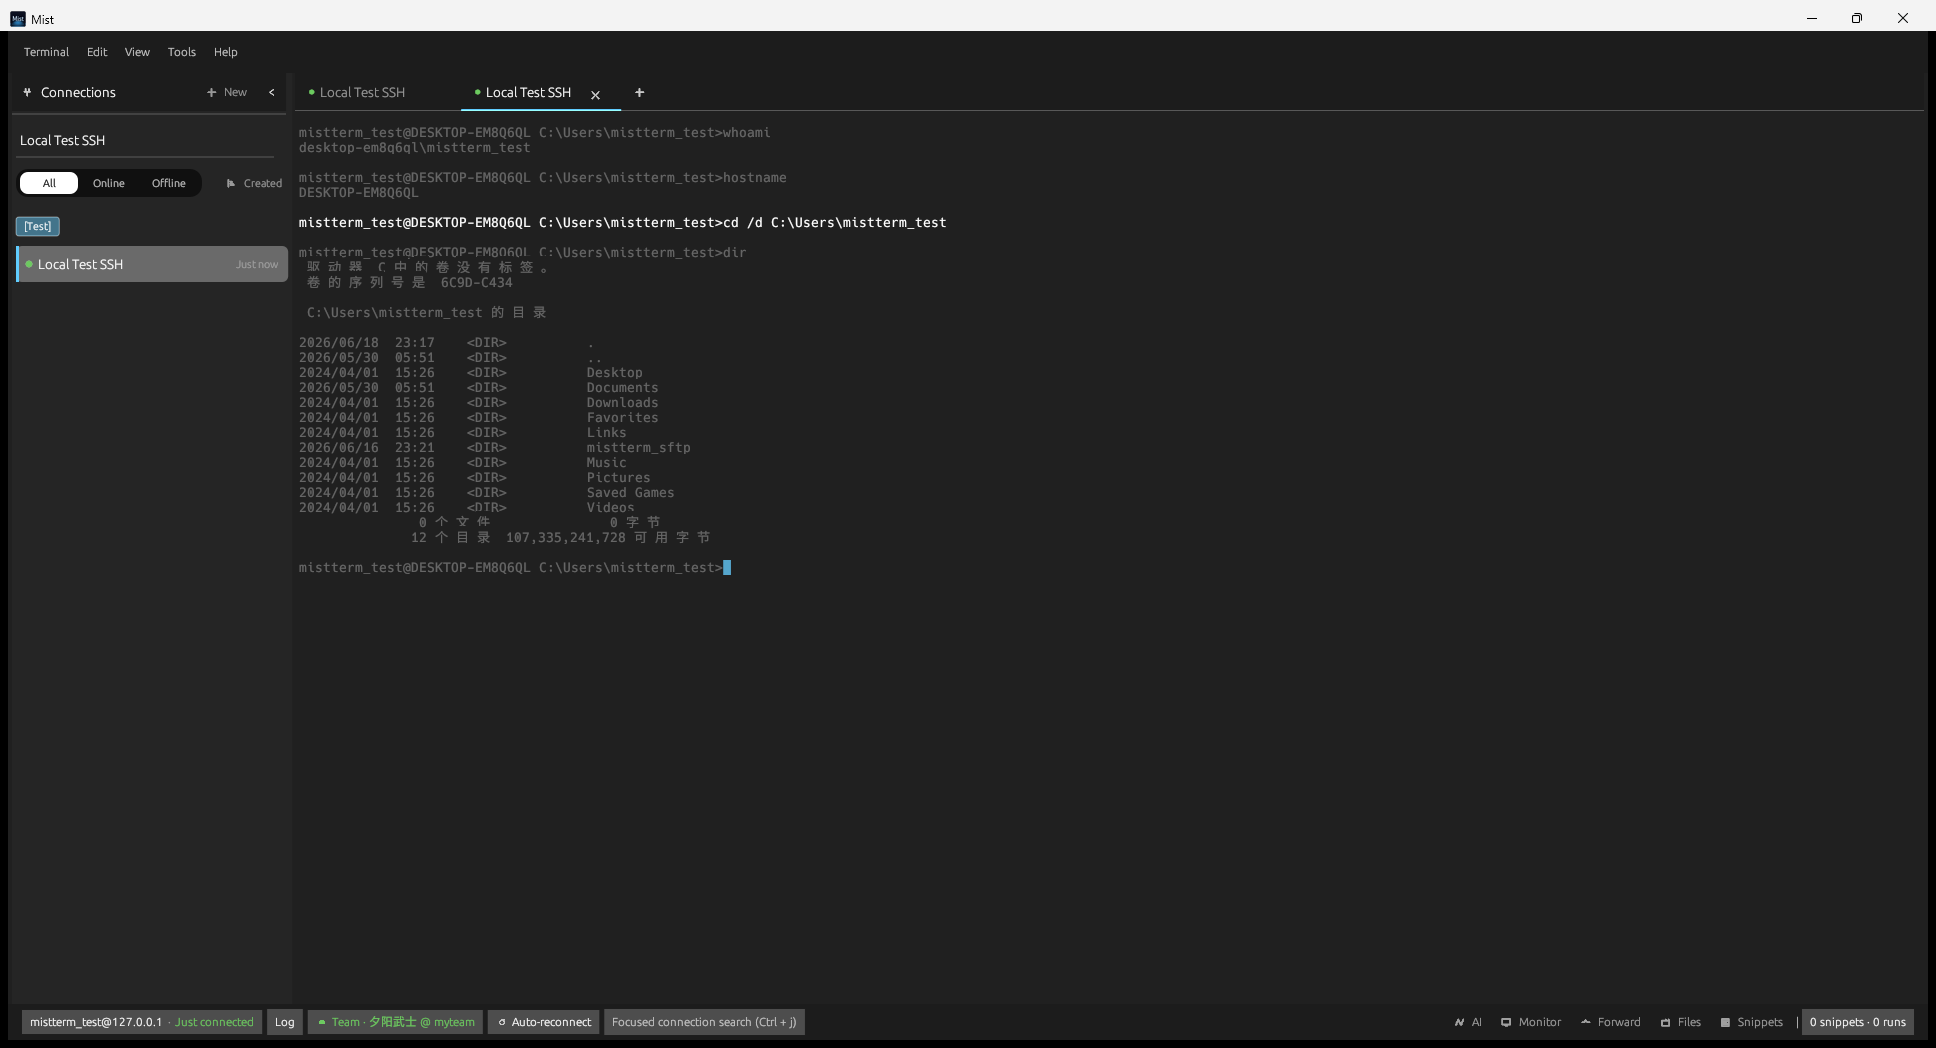
*Fig 6-1: Running commands in the terminal*
- F3 or Ctrl+F: search text in terminal output
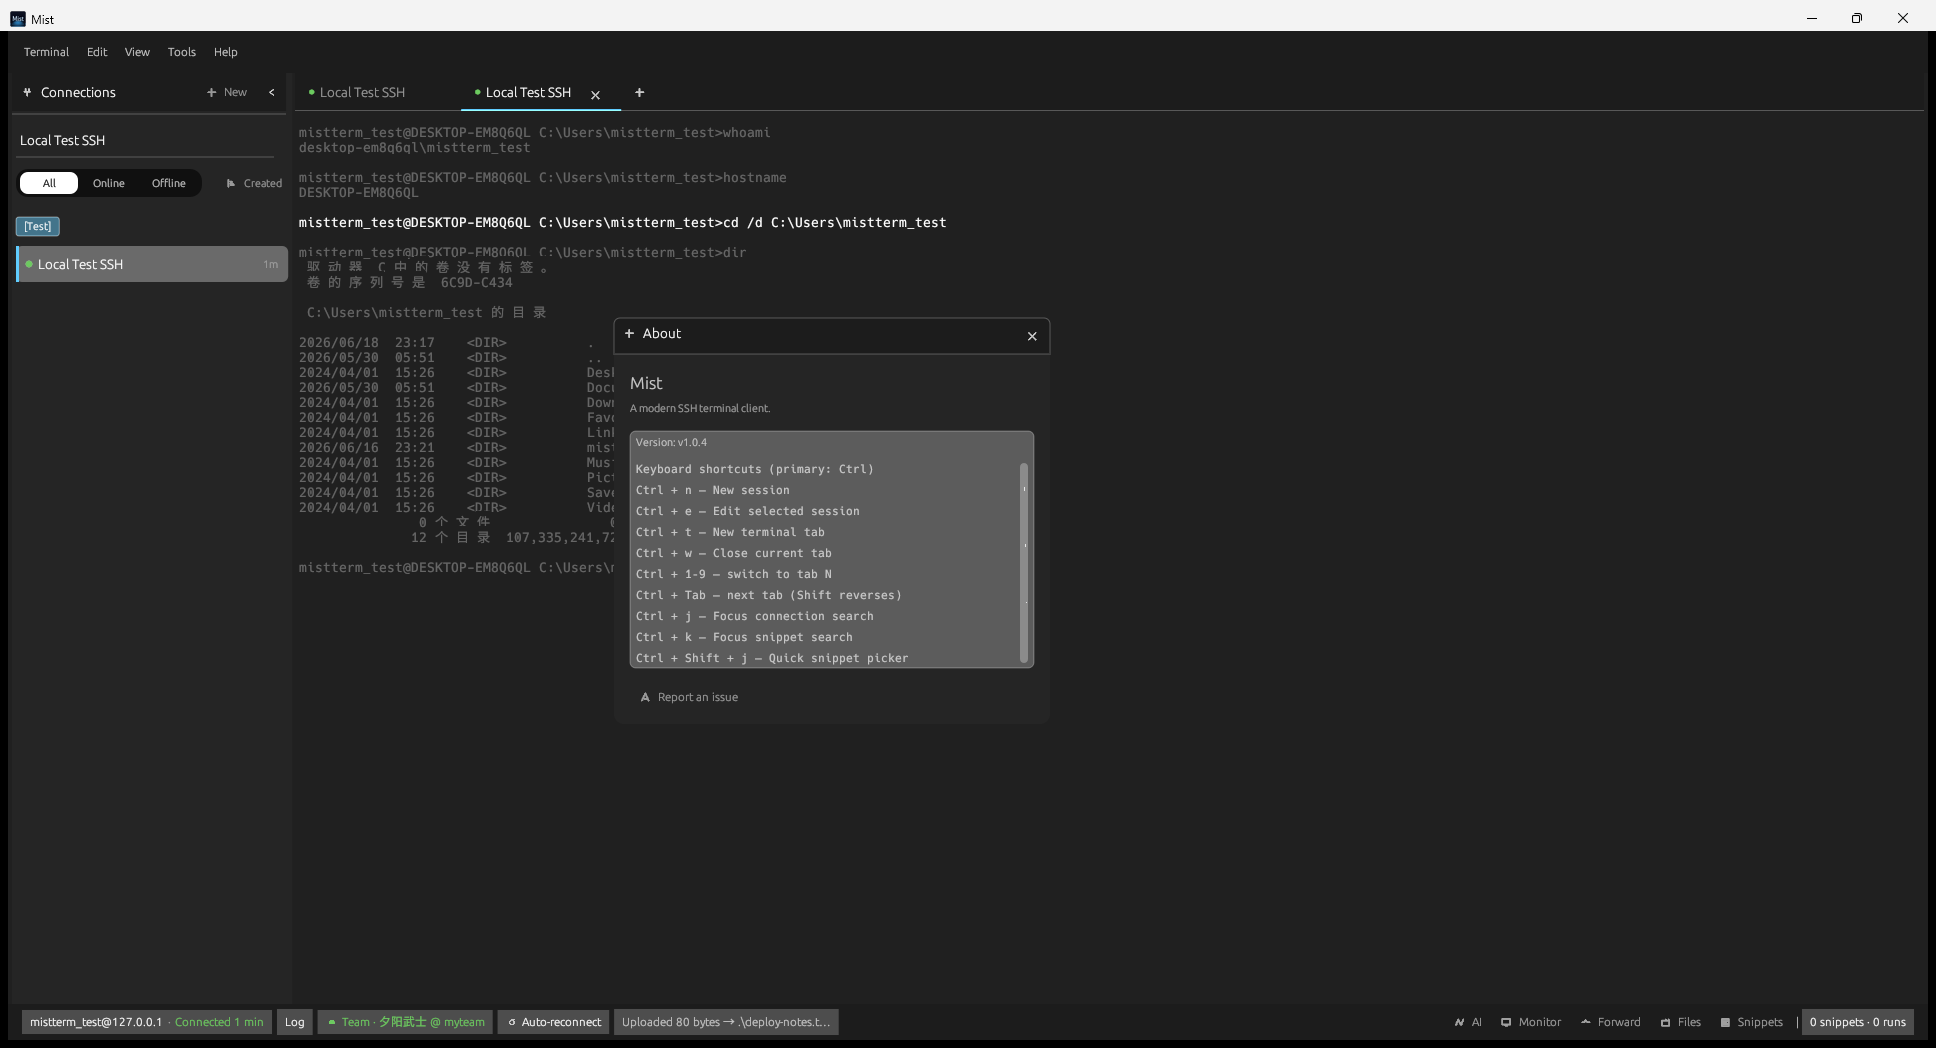
*Fig 6-2: Find in terminal*
- Ctrl+R (when terminal is focused): search and re-run history commands
- Tools → Command History: browse recently executed commands
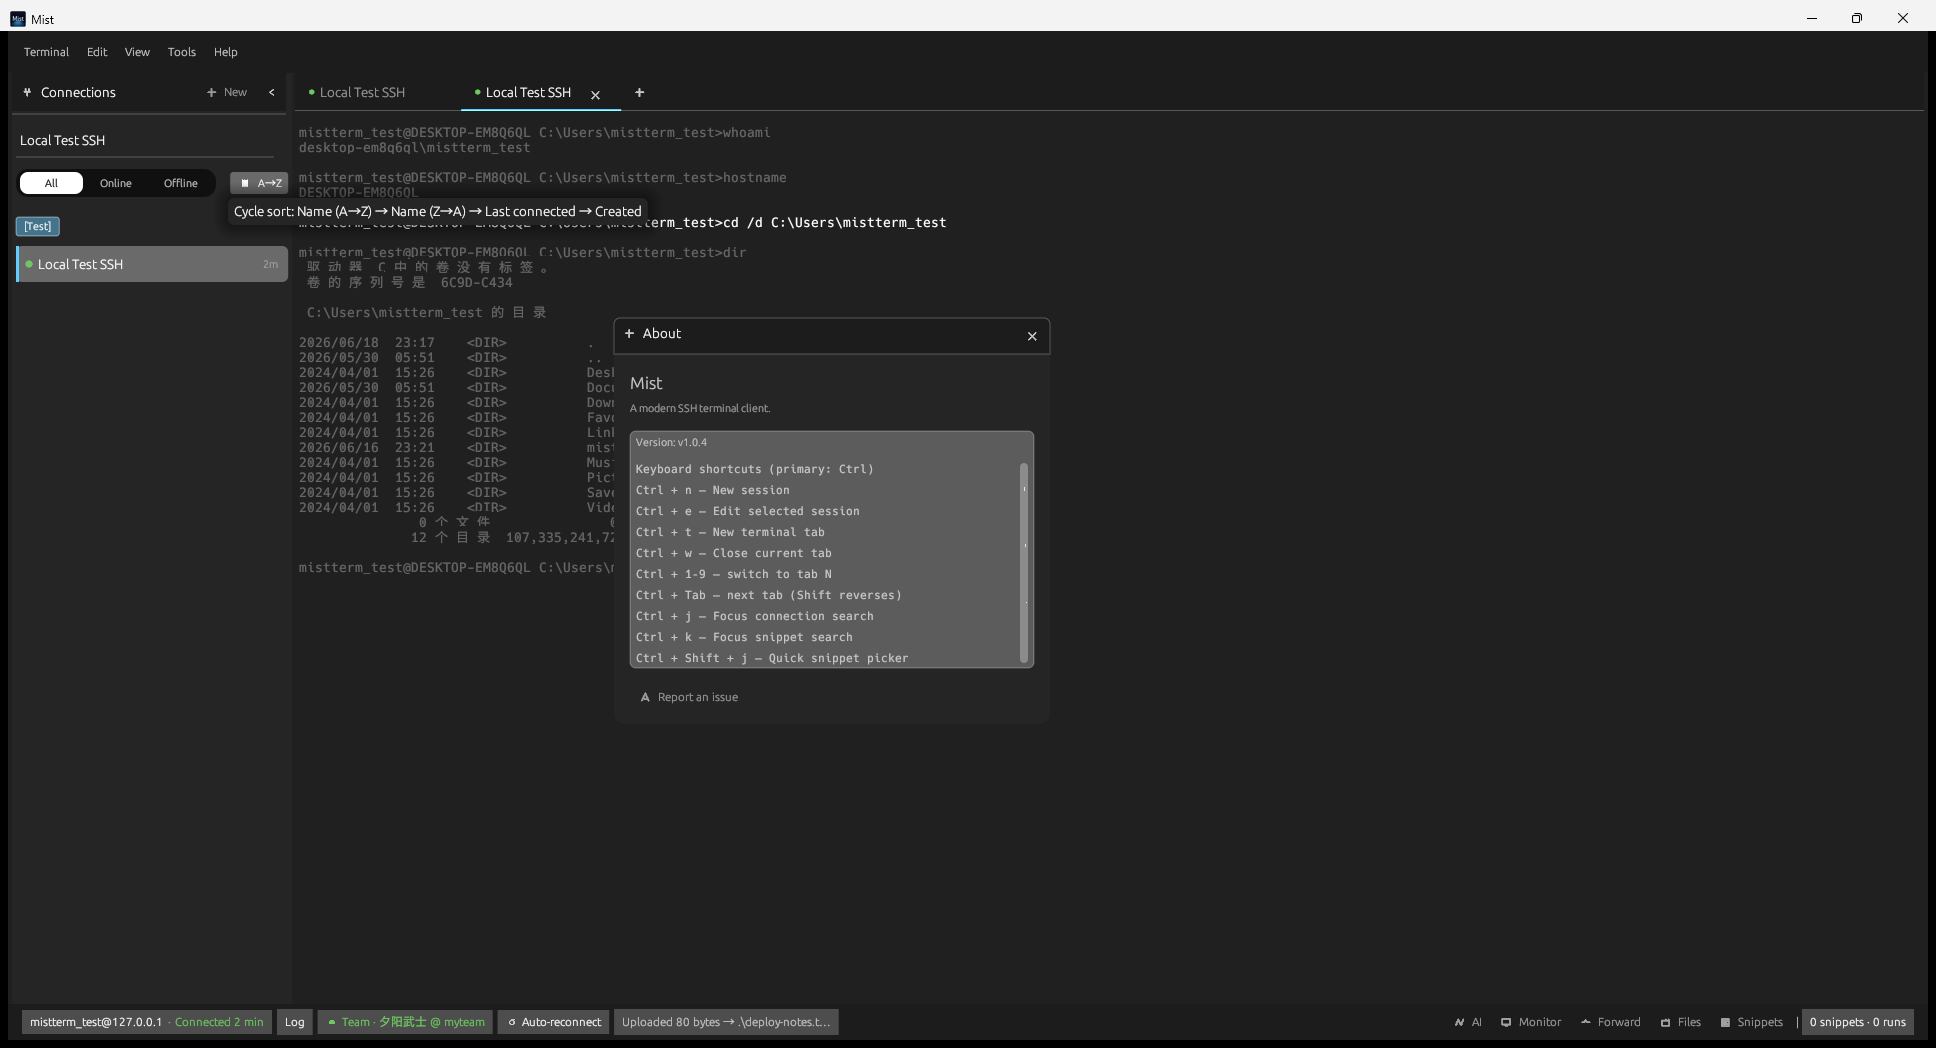
*Fig 6-3: Command history window*
- Ctrl+Shift+D: split left/right
- Ctrl+Shift+U: split top/bottom
- Alt+← / Alt+→: switch focus between split panes
Open via: menu View → SFTP, or bottom bar Files.
The interface has two panes — Local and Remote:
1. Use the path input at the top to navigate directories (press Enter to go)
2. Click to select files or folders
3. Use toolbar buttons or right-click menu: Upload, Download, Delete, New Folder, Rename
4. Results are shown in the bottom status bar
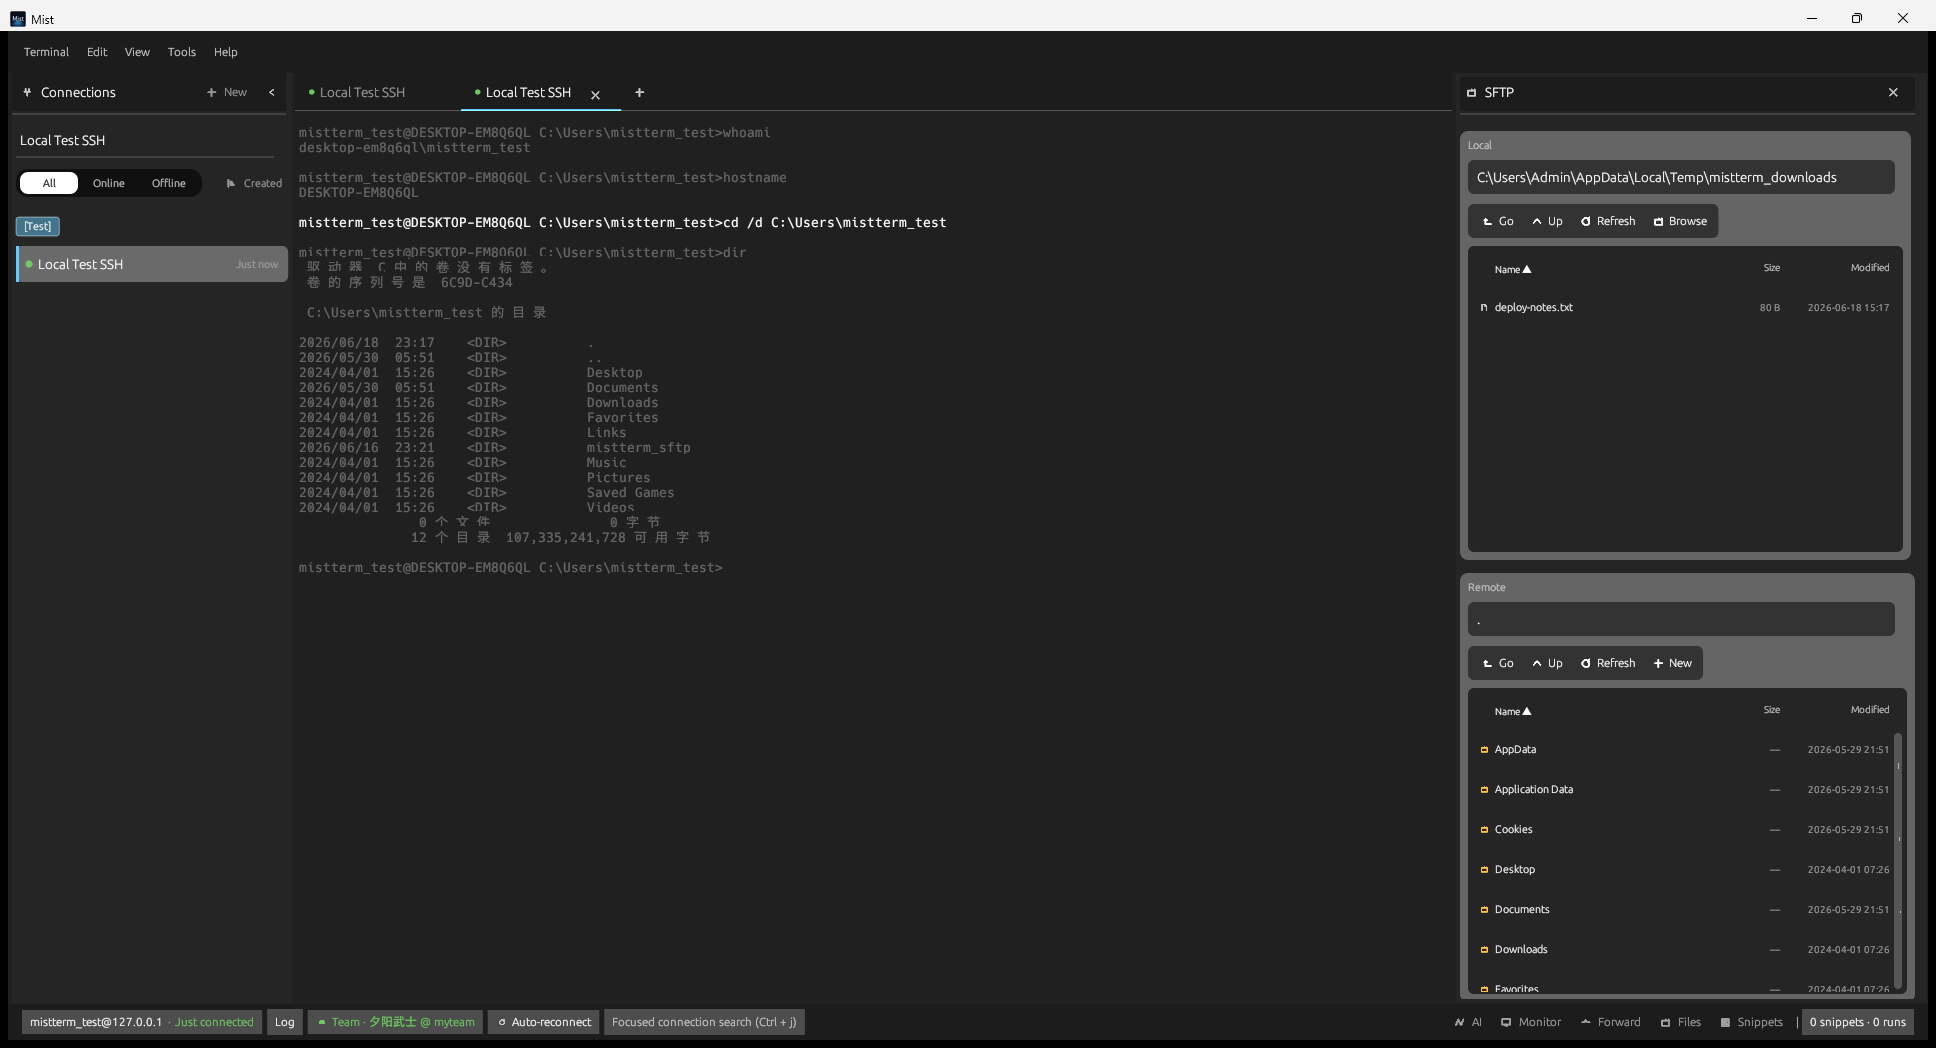
*Fig 7-1: SFTP dual-pane file management*
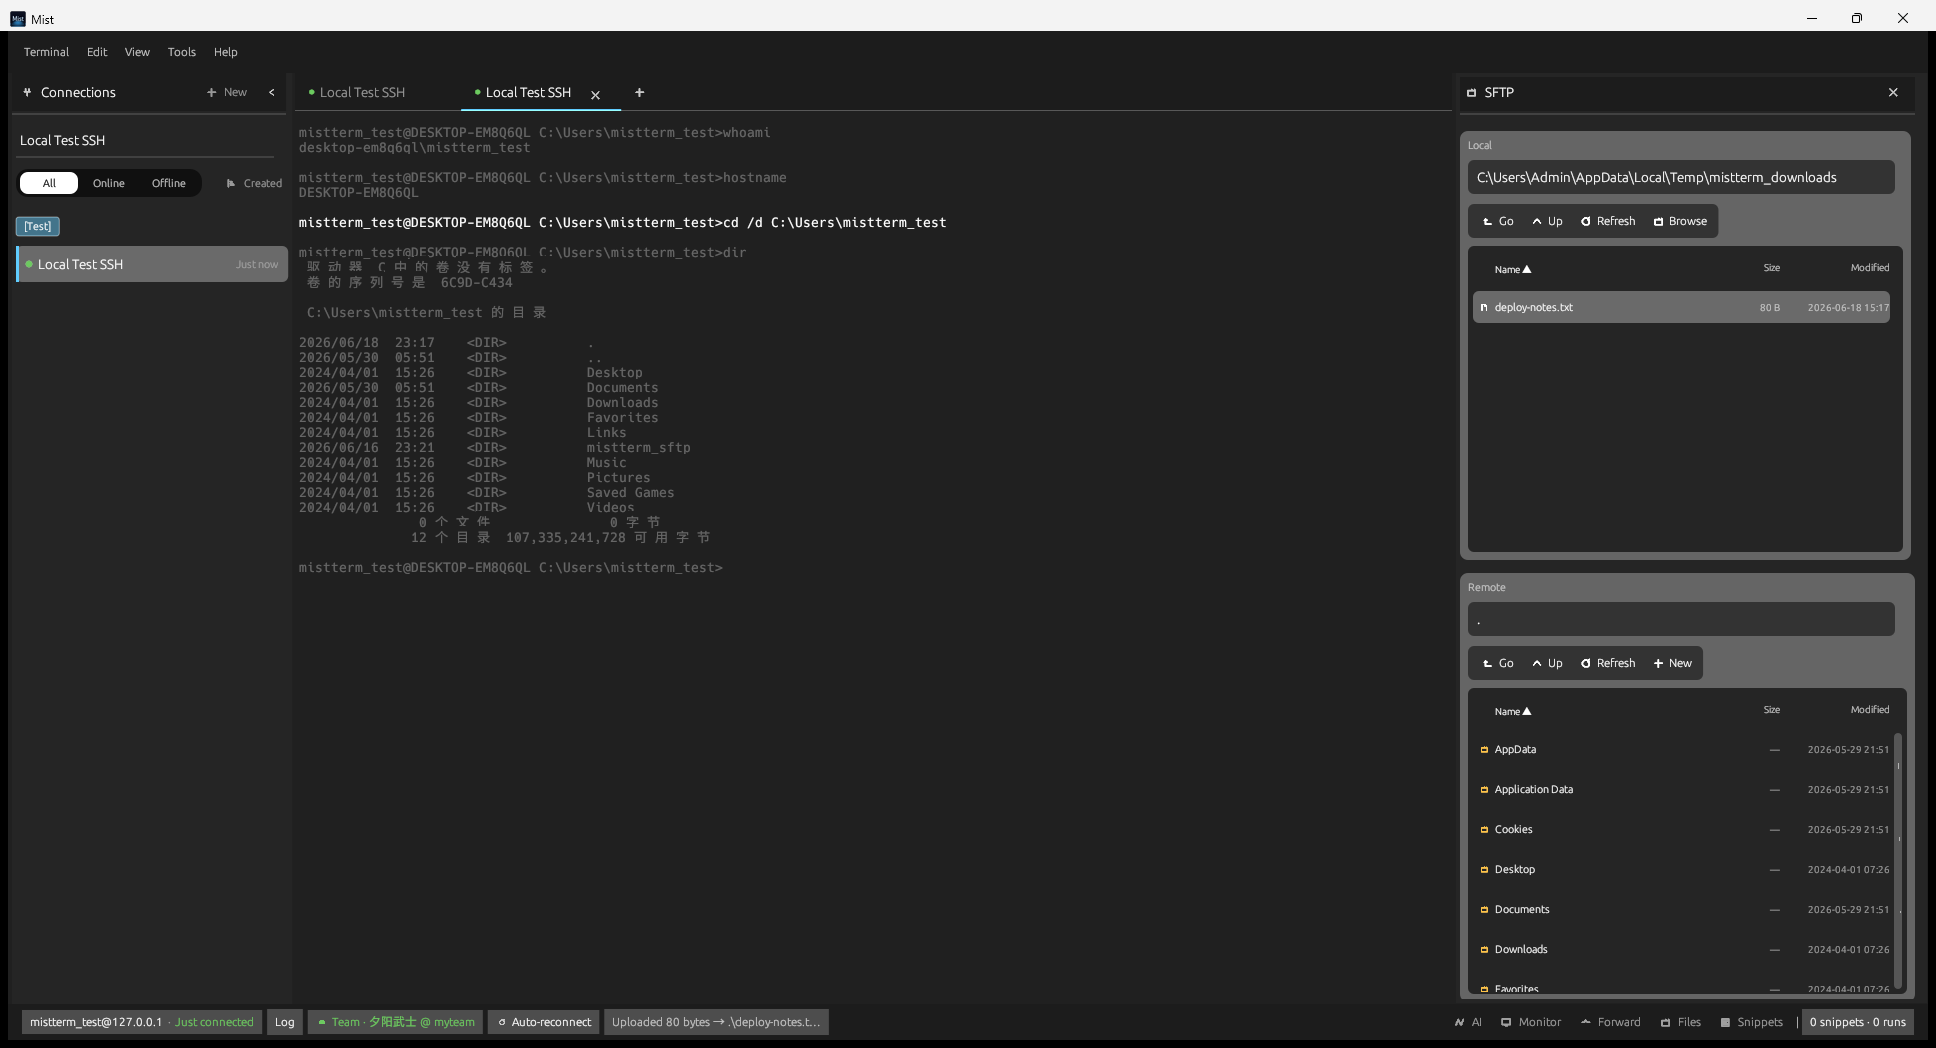
*Fig 7-2: Bottom bar confirmation after upload*
Typical workflow — uploading a file to a server:
1. After connecting via SSH, open the SFTP panel
2. In the left local pane, navigate to the file you want to upload
3. In the right remote pane, navigate to the target directory
4. Select the local file → Upload
Download works in reverse: select a remote file → Download to the current local directory.
If the server has lrzsz installed, you can use these commands in the terminal:
# Upload a file from local to the current remote directory (follow the prompt to select a file)
rz -bye

# Download a file from remote to local
sz filename
MistTerm will automatically handle the transfer and show progress. If transfers fail, make sure the remote side uses rz -bye, and check whether a firewall is interrupting long connections.
Save frequently used commands as snippets for one-click insertion. Supports
| Method | Description |
|--------|-------------|
| Ctrl+K | Focus snippet search |
| Ctrl+Shift+J | Quick snippet selector |
| Bottom bar Snippets | Open the snippet side panel |
| Tools → Snippet Library | Manage, create, and edit snippets |
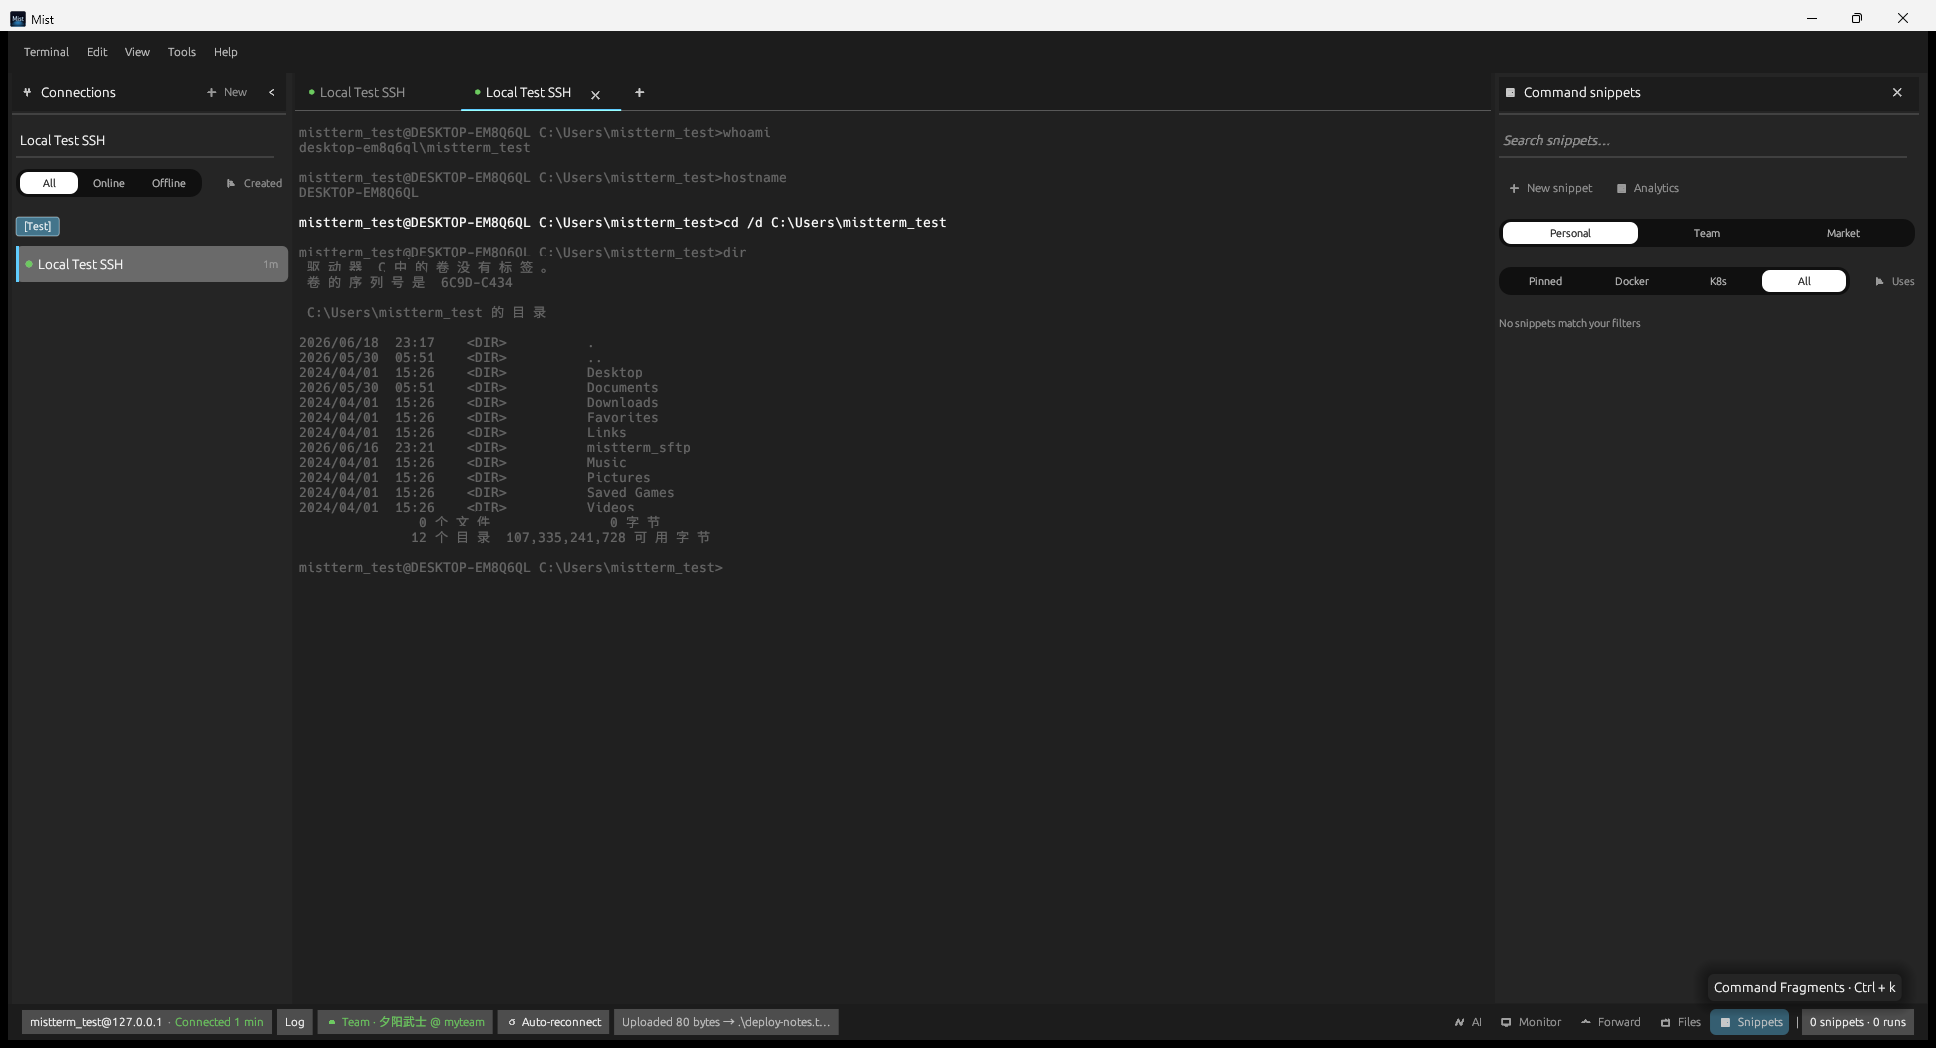
*Fig 8-1: Snippet panel opened from bottom bar*
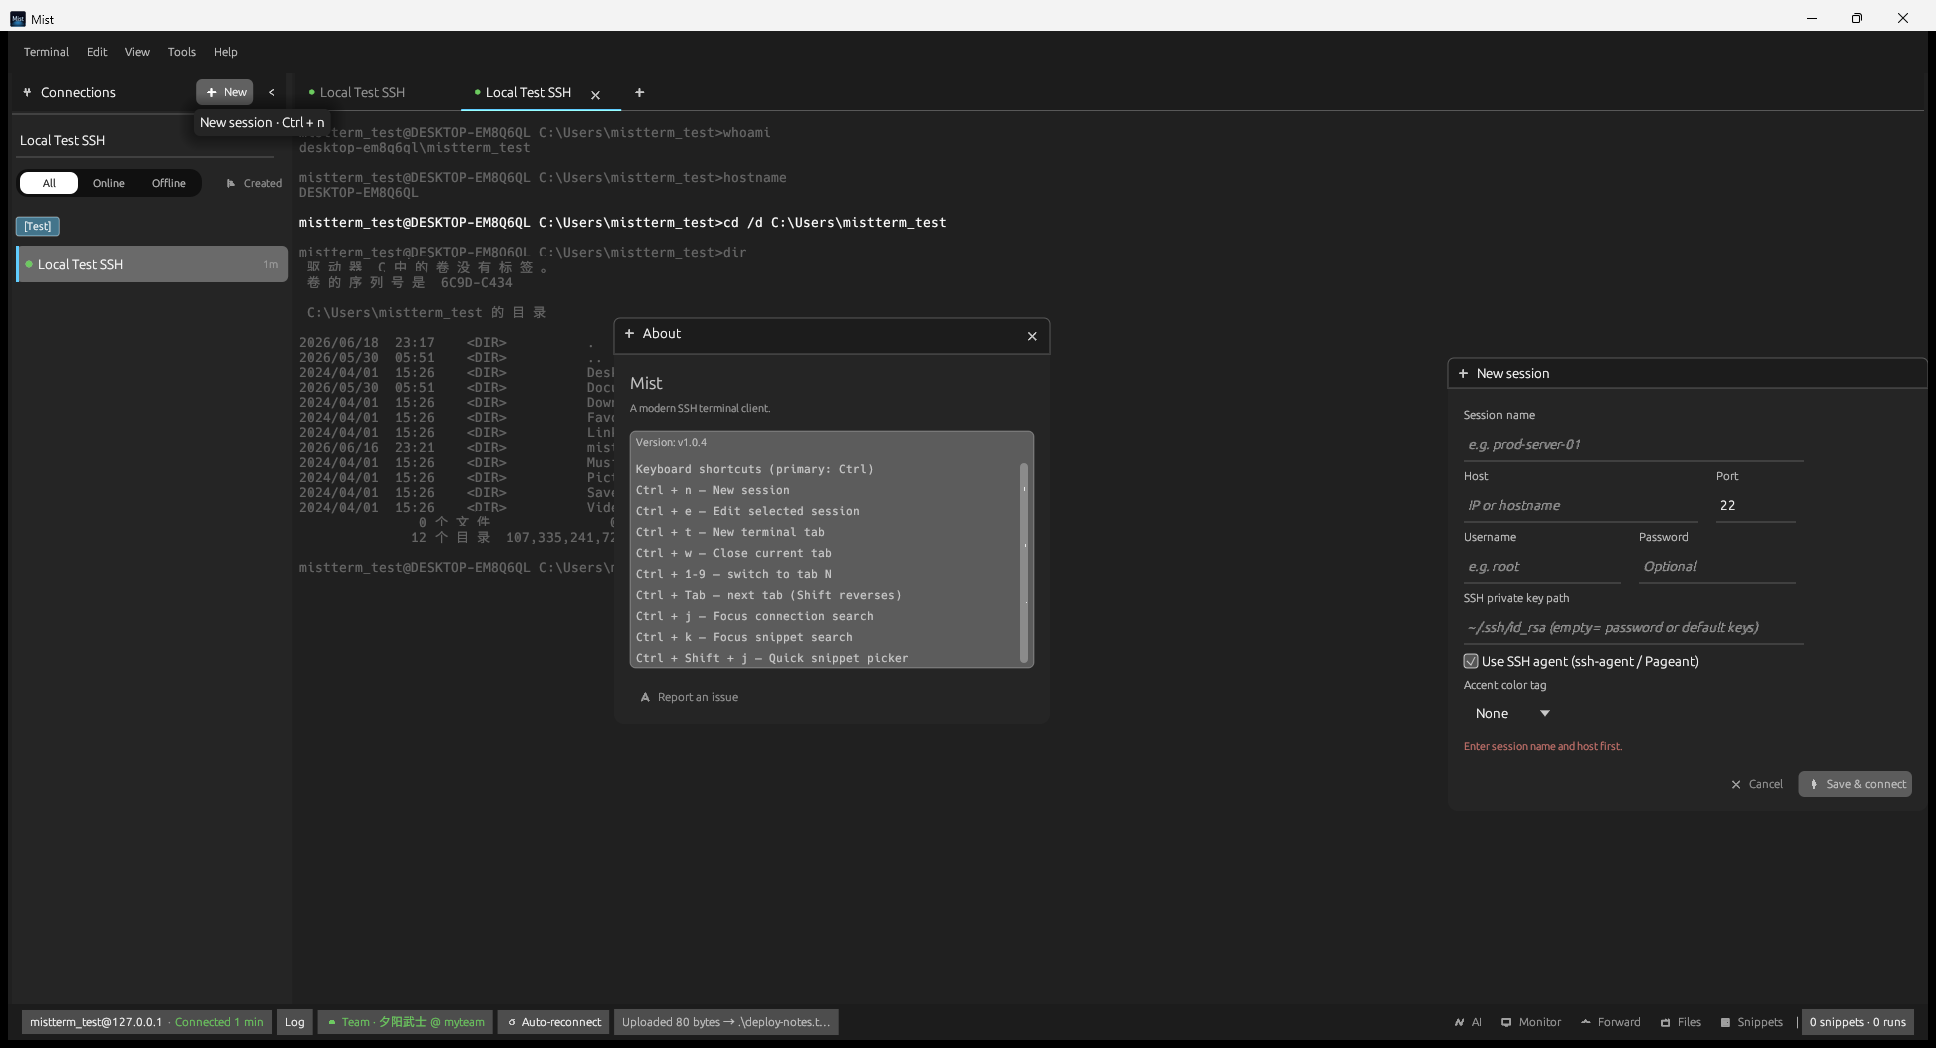
*Fig 8-2: Snippet Library — create and edit*
Example snippet content:
kubectl logs -f deployment/<service> -n <namespace>
When executed, an input dialog appears for each variable. After filling them in, the command is automatically substituted and sent to the terminal.
If you are logged into a MistLab team account, you can use team-shared snippets (see Section 11).
1. First establish an SSH connection
2. Open View → Monitor or bottom bar Monitor
3. View CPU, memory, disk, load charts (data is read-only, collected from the remote server)
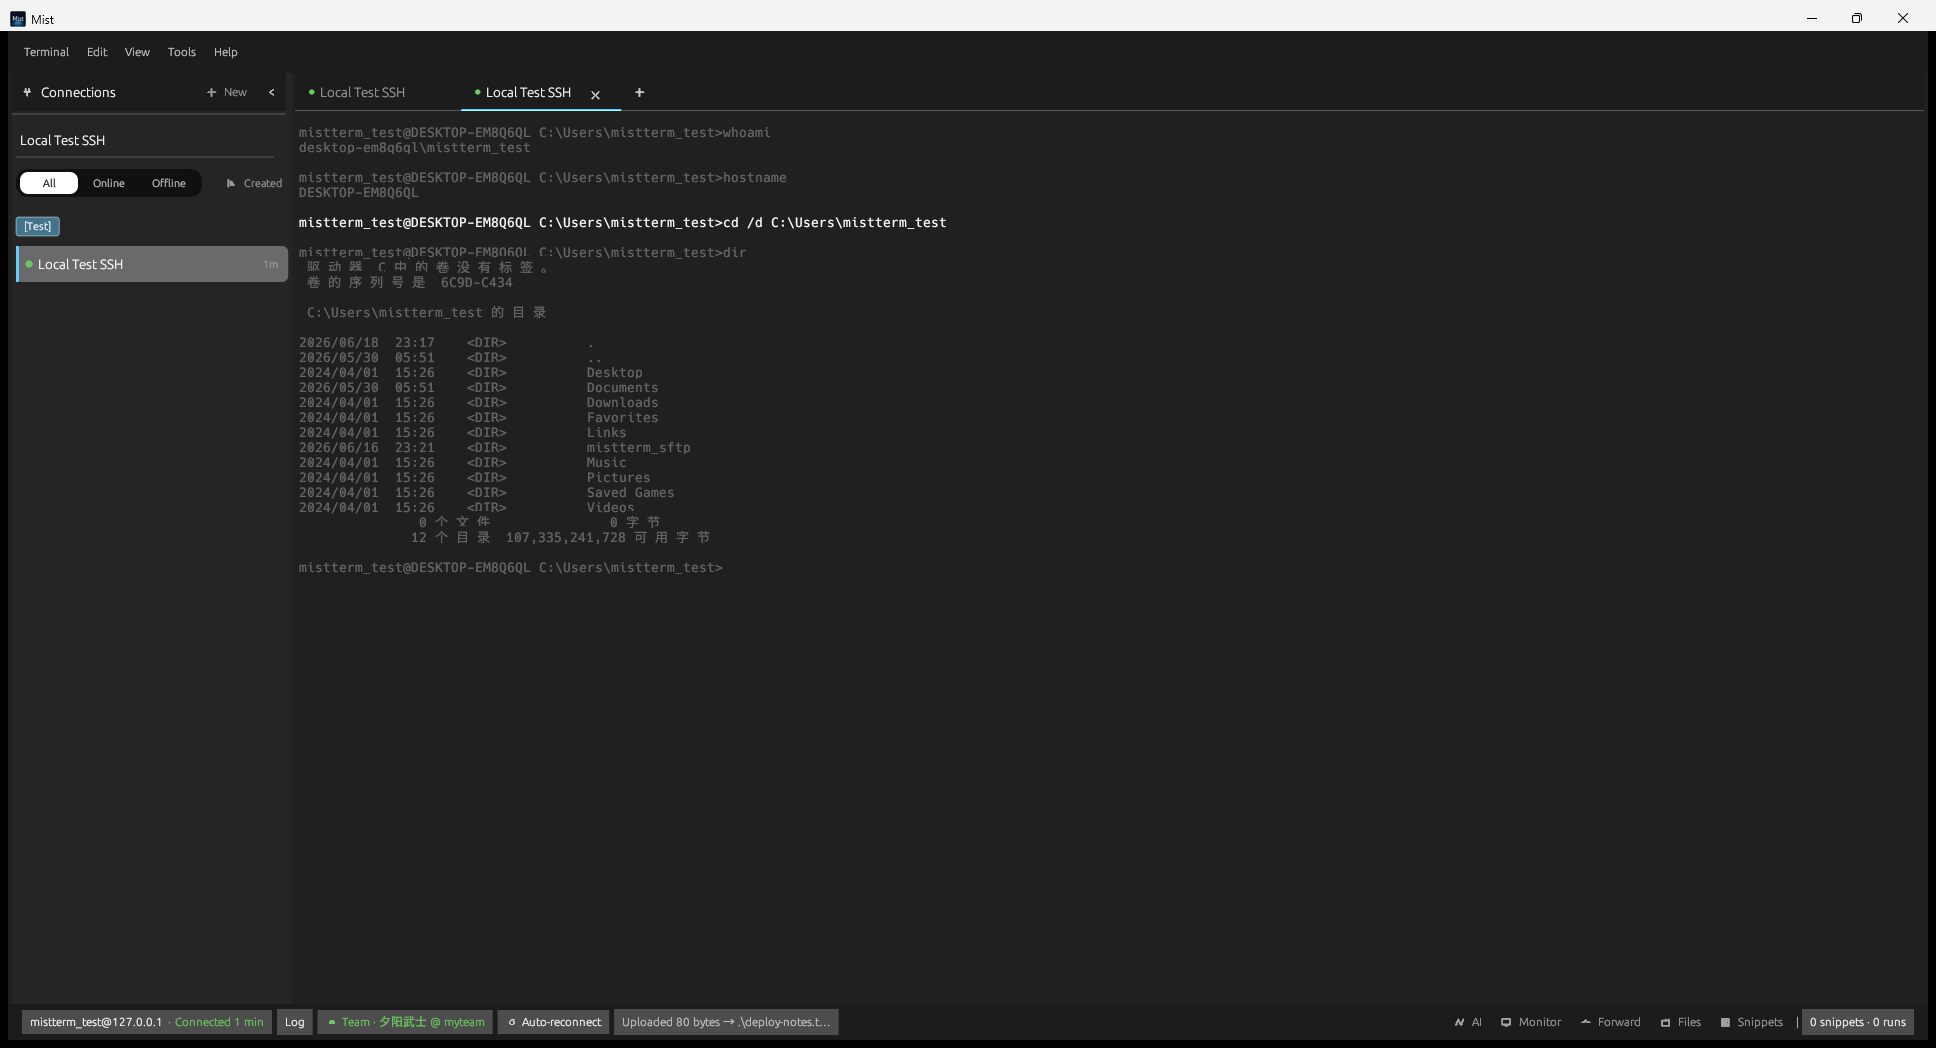
*Fig 9-1: Host monitoring*
> Monitoring depends on the SSH connection. If the connection drops, charts stop updating; reconnect to resume.
1. Open bottom bar Port Forward or View → Port Forwarding
2. Add rules (format similar to OpenSSH):
- Local forward: local_port:target_host:target_port
- Remote forward: remote_port:target_host:target_port
- SOCKS proxy: port number
3. Rules take effect when the session is connected
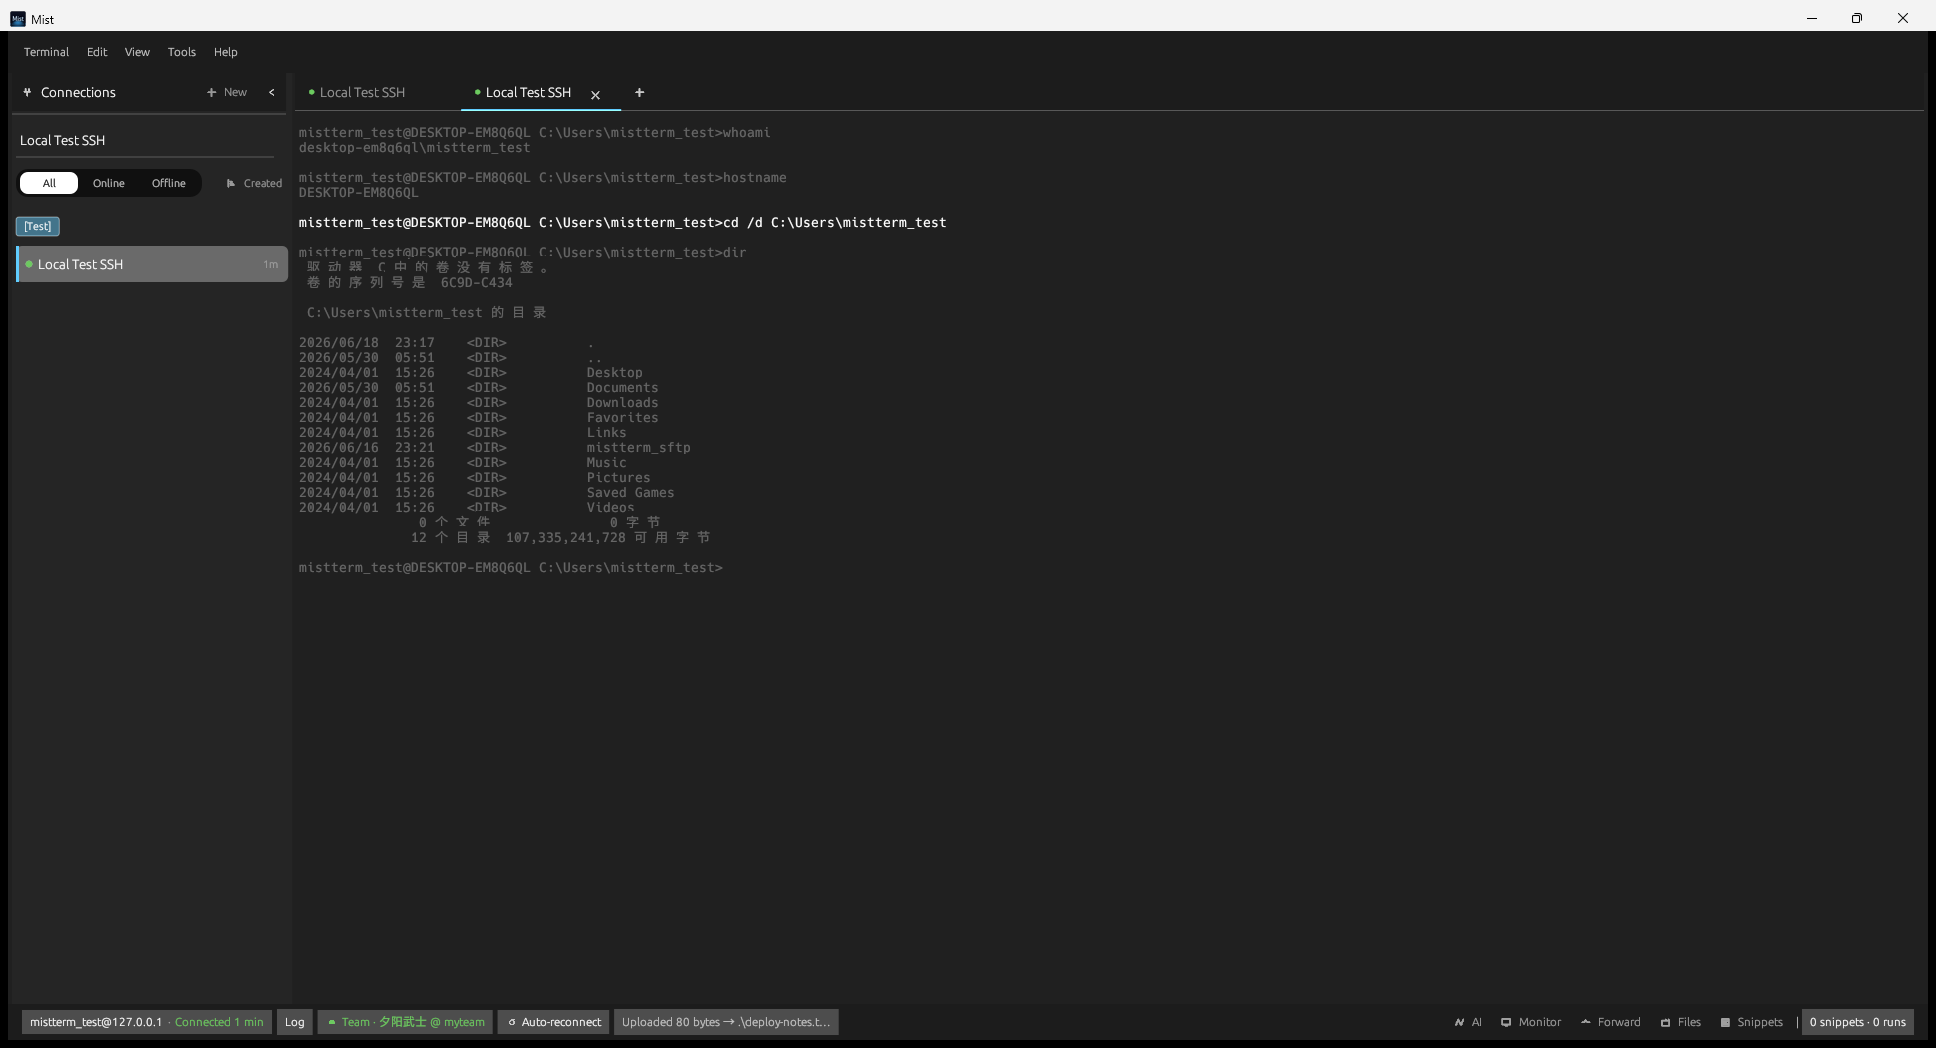
*Fig 9-2: Port forwarding management*
1. Tools → AI Settings (or press Ctrl+Shift+A to open the panel first, then enter settings)
2. Fill in API URL, API Key, and Model Name (must be compatible with OpenAI-style API, such as various API gateways)
3. Save
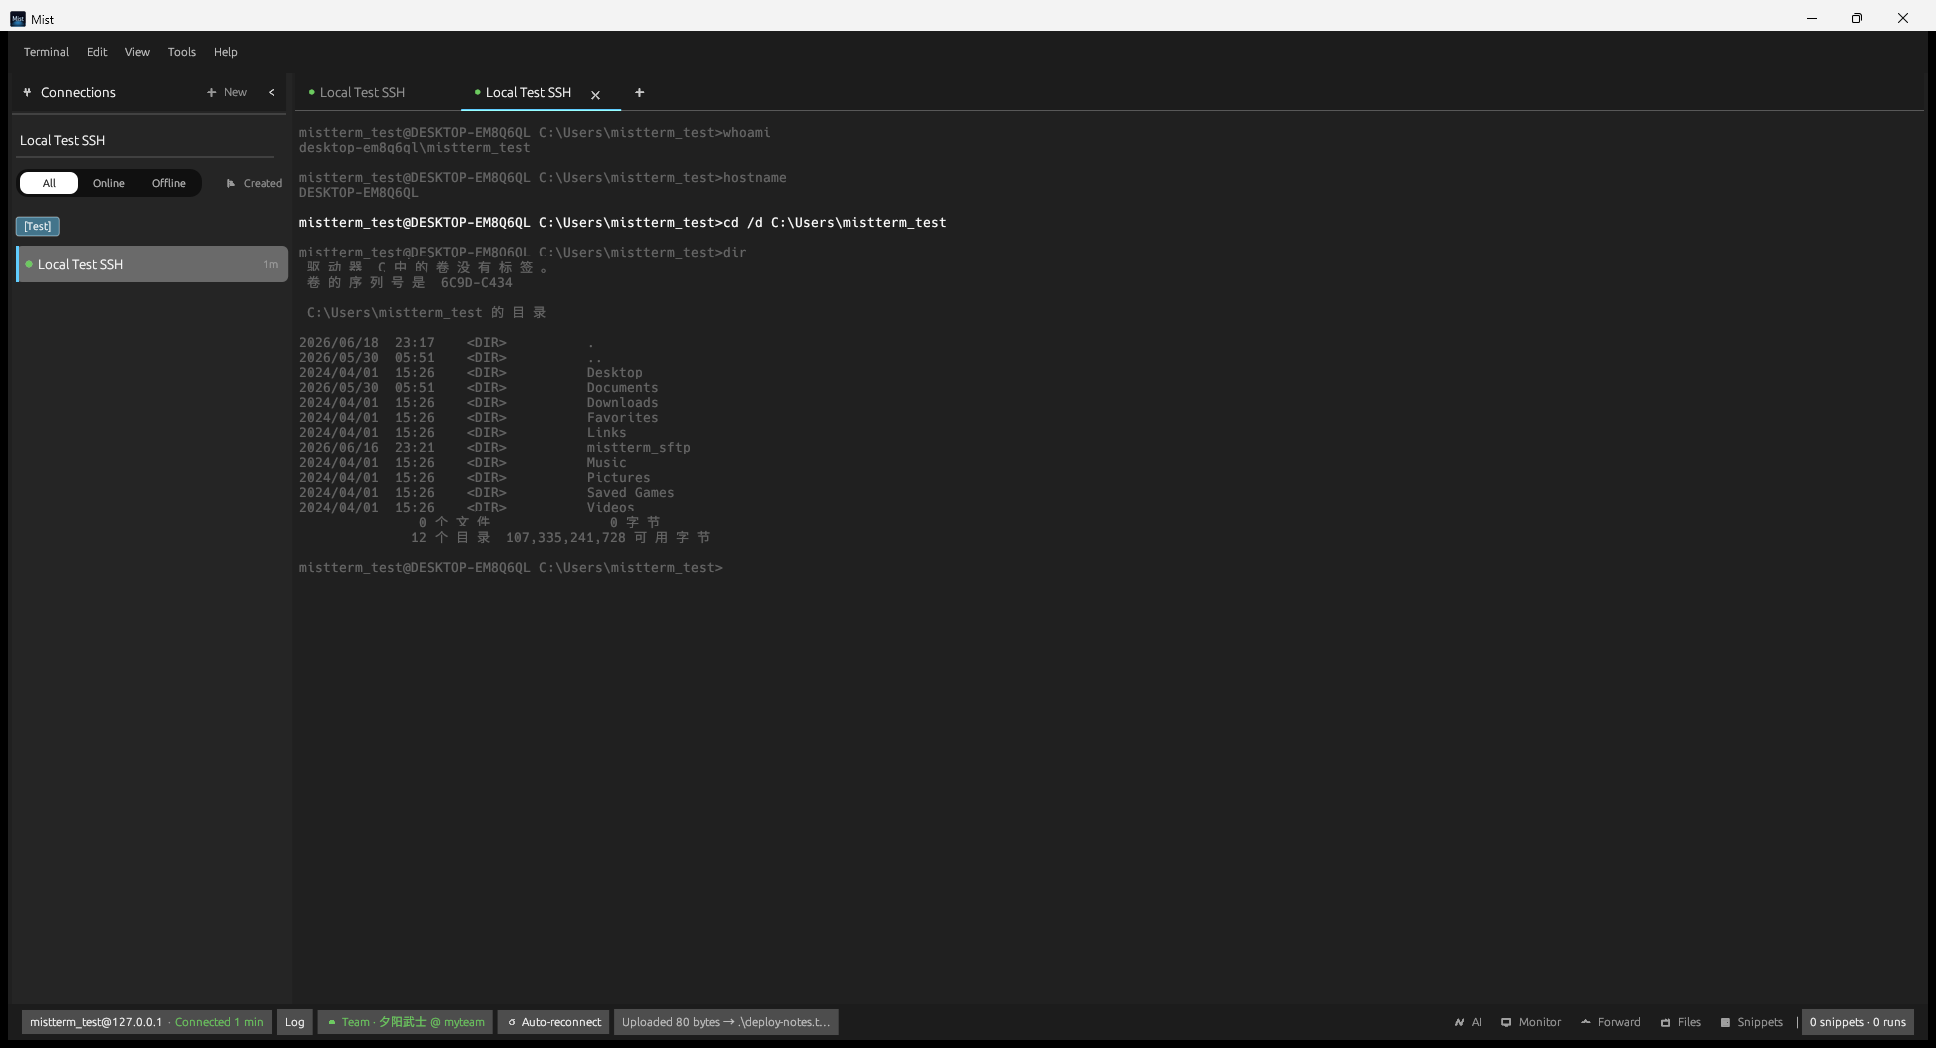
*Fig 10-1: AI Settings*
- Ctrl+Shift+A opens the AI panel; type your question and send
- Ctrl+Shift+L: send selected text from the terminal to AI for analysis
- Requests go directly to your configured API — they do not pass through MistLab servers (key is stored locally)
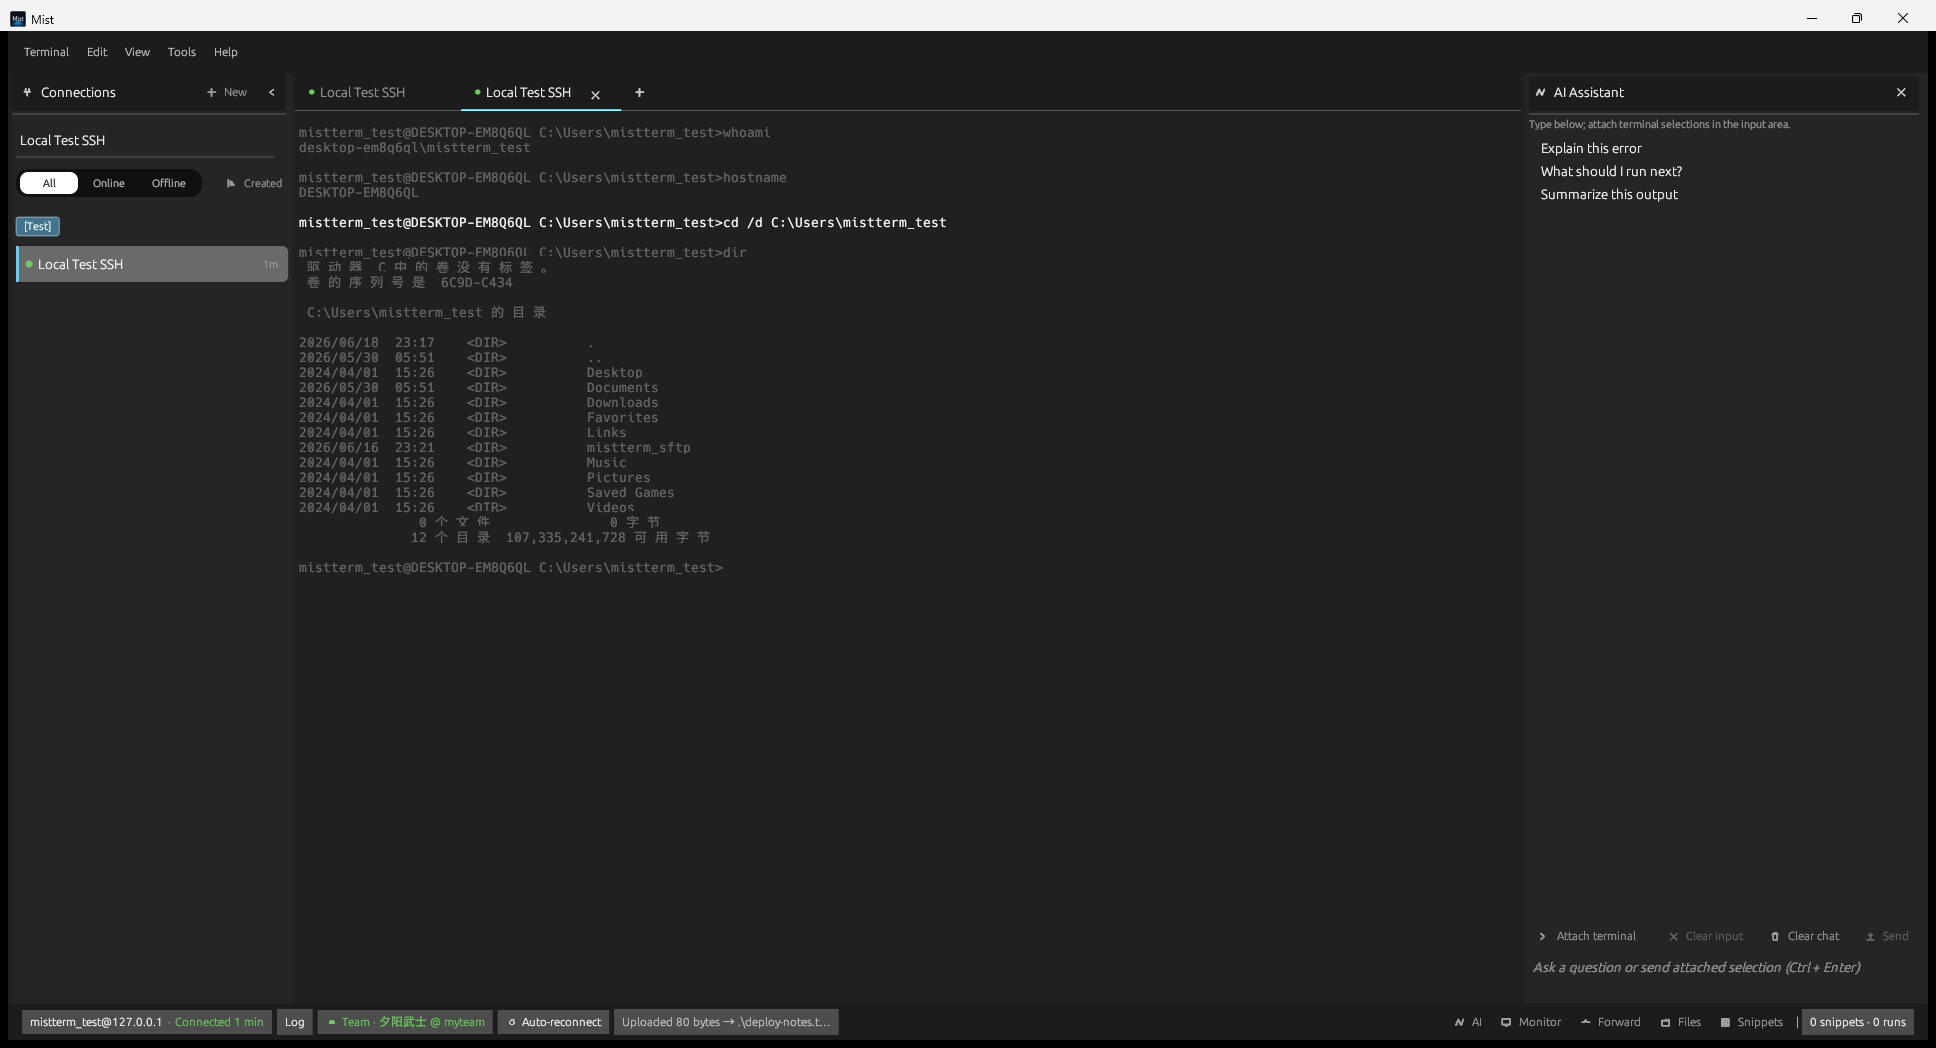
*Fig 10-2: AI assistant conversation*
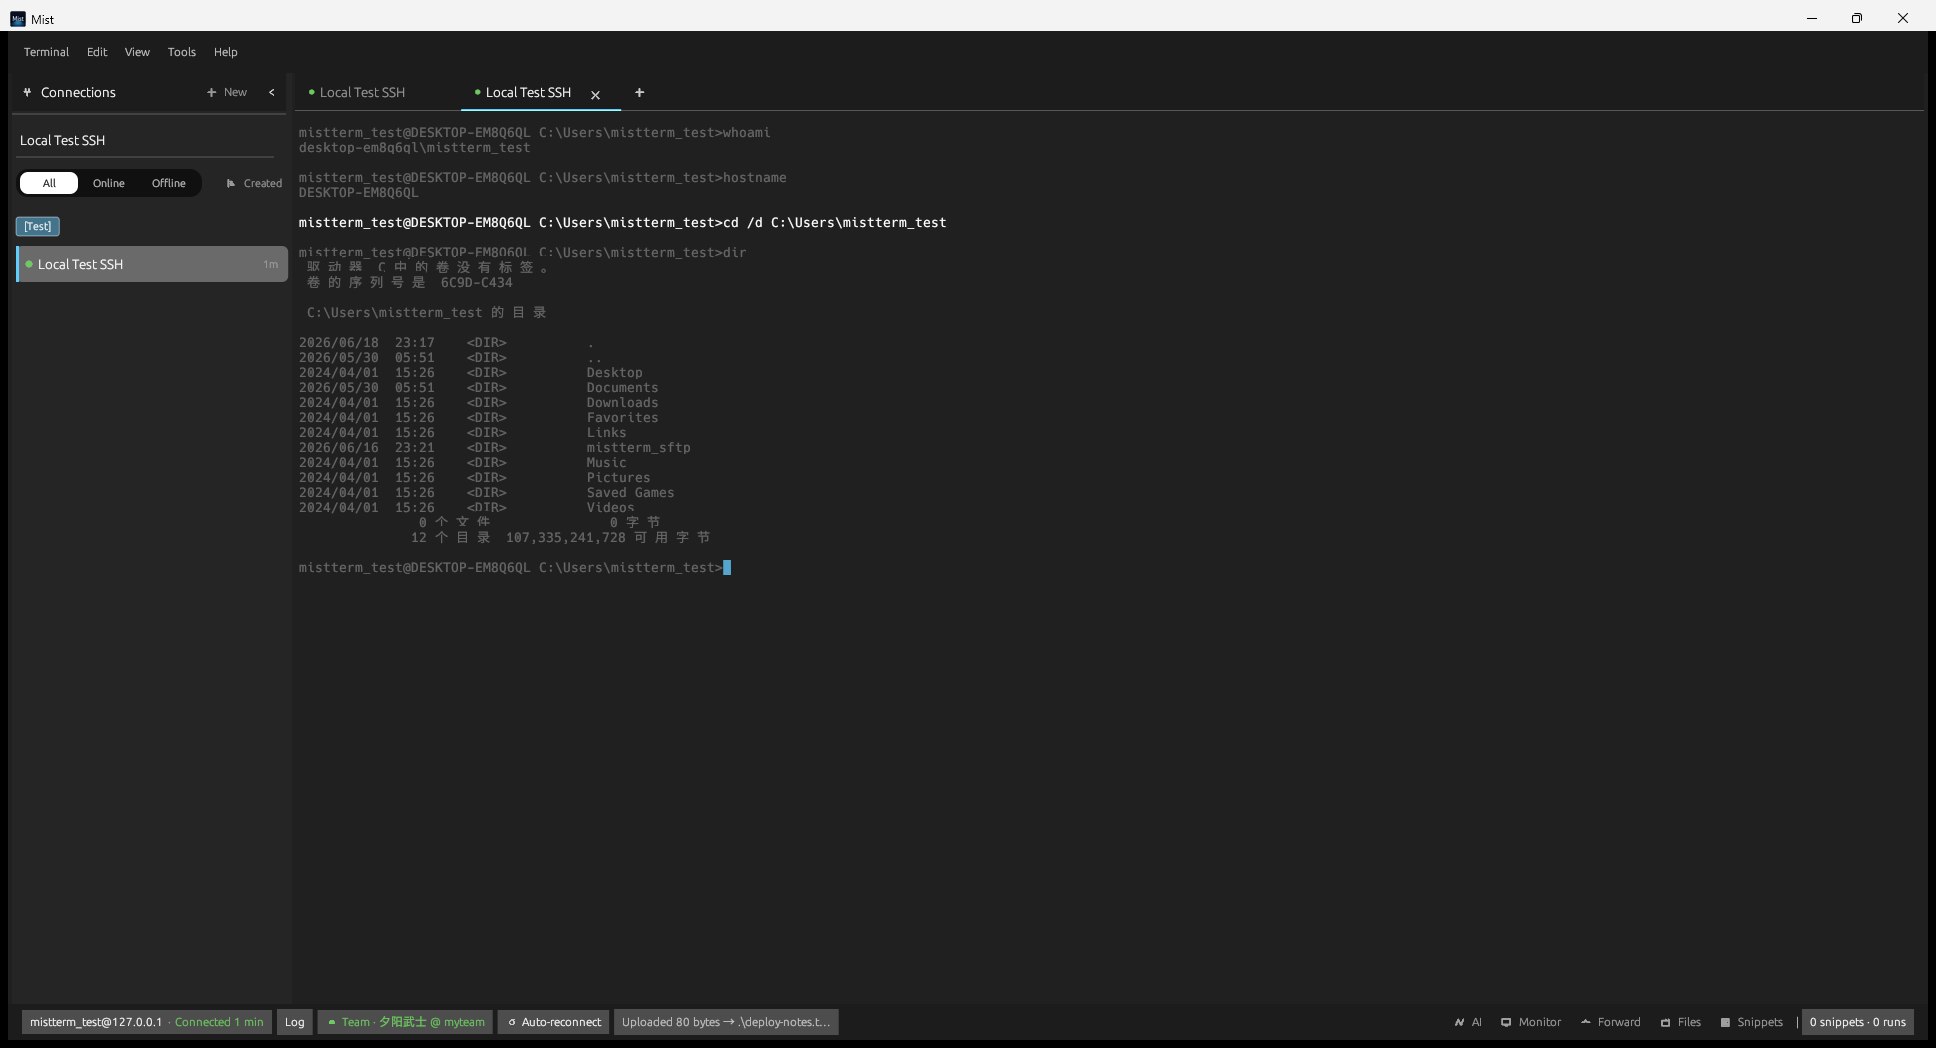
*Fig 10-3: Tools menu — AI, Snippets, Batch Execute, Credentials, etc.*
For users of MistLab Team Edition:
1. Tools → Team Account to log in (browser OAuth authorization)
2. After logging in, you can:
- Sync/share command snippets
- View team audit records (if enabled by admin)
- Use team Vault credentials (if configured)
3. Tools → Cloud Sync can back up personal configuration to a Git repository (optional)
Without a team login, all personal features work normally.
MistTerm can warn or block dangerous commands before they are sent to the server (depending on your rules and team policies):
| Behavior | Description |
|----------|-------------|
| Block | Extremely high-risk commands like rm -rf / cannot be sent |
| Confirm | A dialog asks "Are you sure?" |
| Alert | Execution allowed but a warning is logged |
View or adjust local rules in Preferences. When joining a team, admin-pushed policies sync to your machine.
Tools → Credentials: centrally stores server accounts, database credentials, API tokens, etc., referenced by sessions or snippets. Encrypted locally by default.
Enable Session Logging in Preferences to automatically save terminal interaction records for later auditing. View via Tools → Browse Session Logs.
- Ctrl+, opens Preferences: interface language, theme, font, audit, logging, etc.
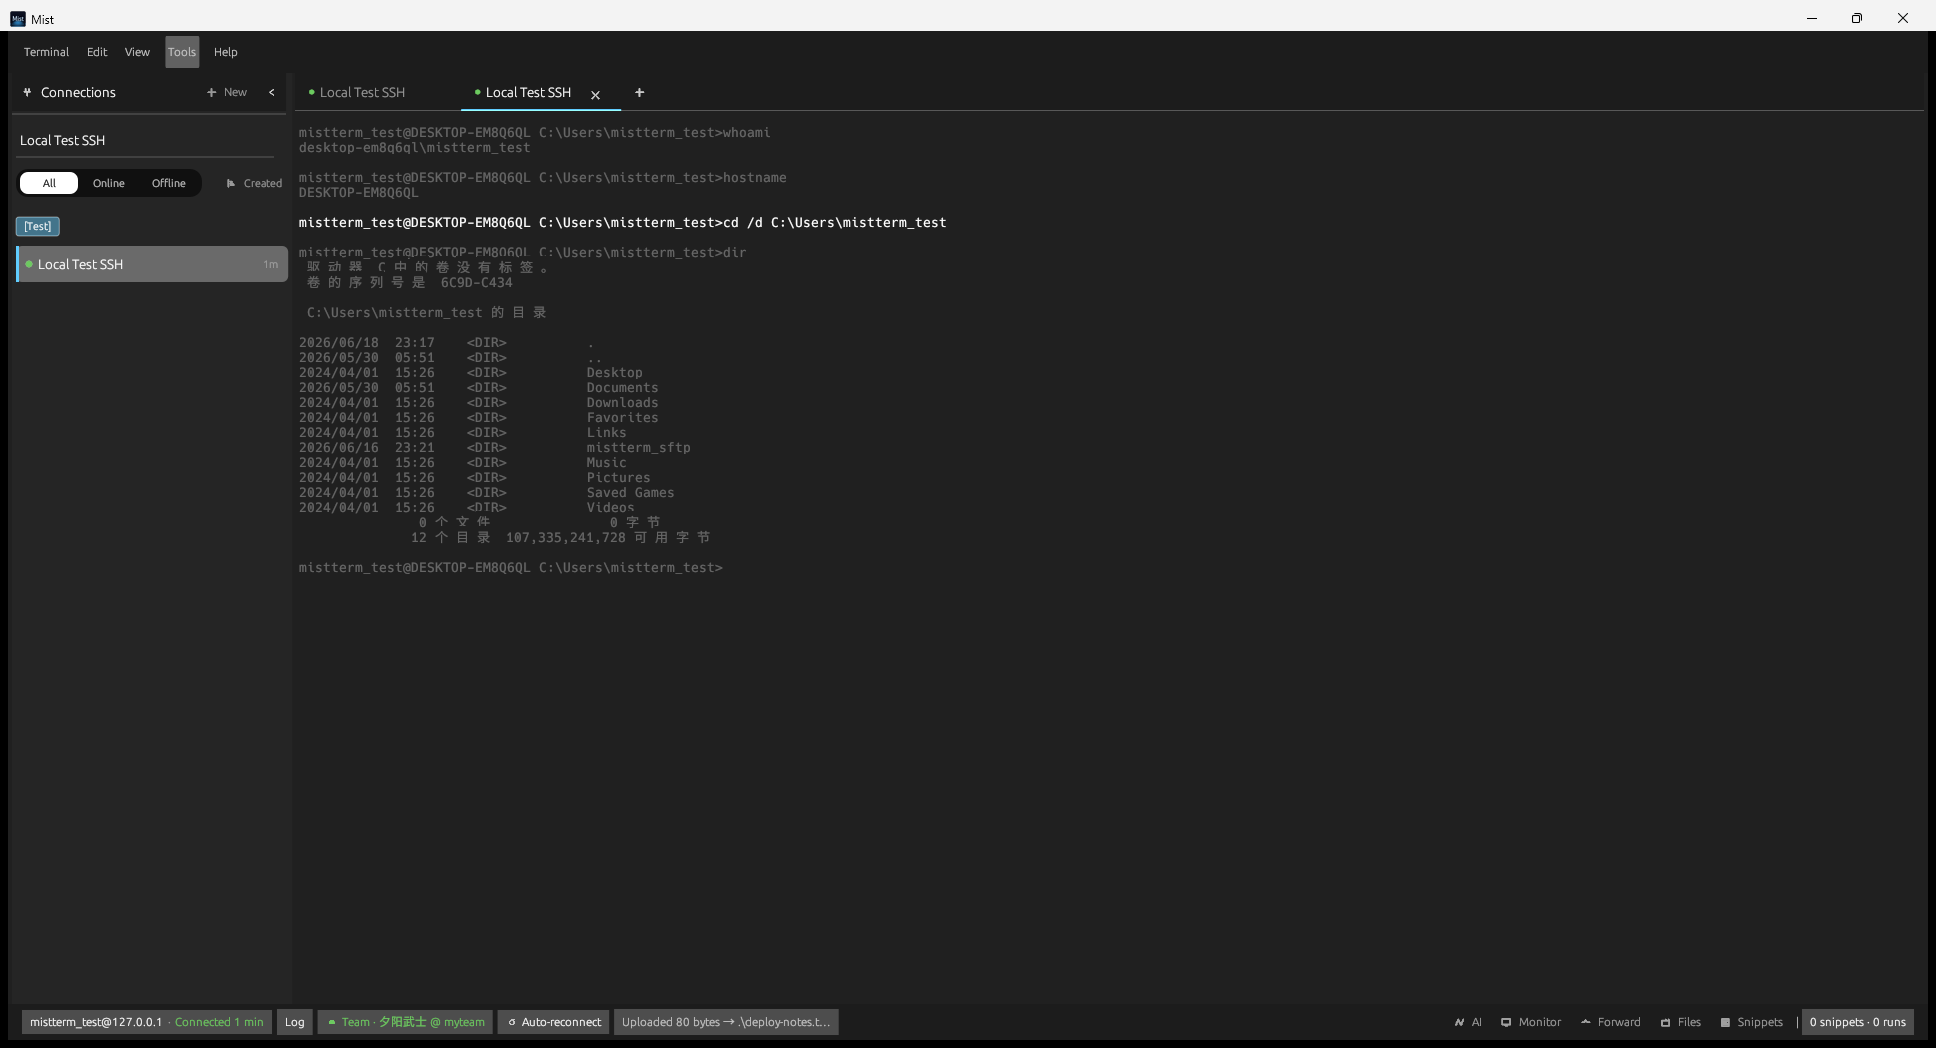
*Fig 13-1: Preferences*
- Ctrl+H to view About and built-in shortcut guide
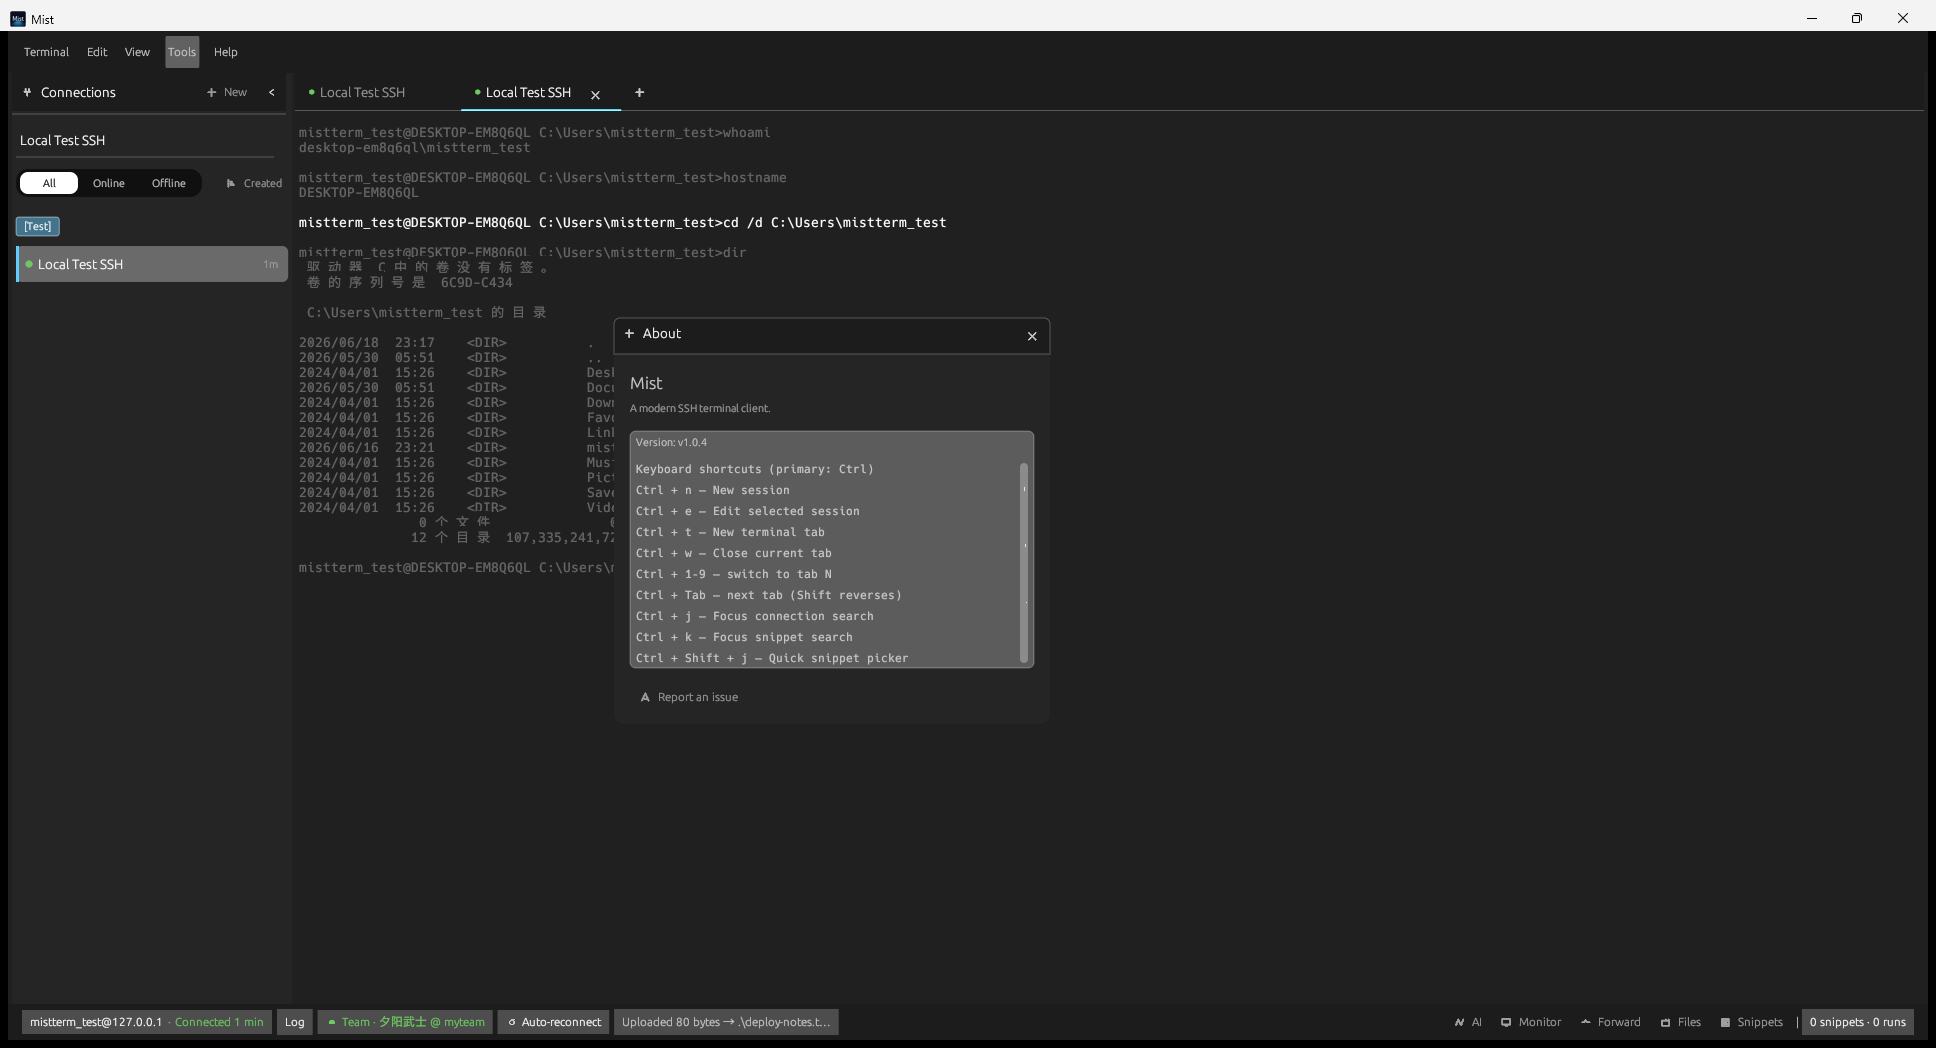
*Fig 13-2: About Mist*
- View → Theme: switch between dark/light and other color schemes
Tools → Batch Execute: select multiple saved hosts, enter a command, and execute it in parallel across all selected hosts. Useful for inspections (results are shown per host; overly long output is auto-truncated).
The following uses Windows keys; on macOS, replace Ctrl with ⌘ (e.g., Ctrl+N → ⌘N).
| Shortcut | Function |
|----------|----------|
| Ctrl+N | New session |
| Ctrl+E | Edit selected session |
| Ctrl+T | New terminal tab for selected session |
| Ctrl+W | Close current tab |
| Ctrl+Tab / Ctrl+Shift+Tab | Next / previous tab |
| Ctrl+1 … Ctrl+9 | Switch to tab N |
| Ctrl+J | Focus connection search (sidebar) |
| Ctrl+K | Focus snippet search |
| Ctrl+Shift+J | Quick snippet selector |
| Ctrl+F / F3 | Find in terminal |
| Ctrl+R | Command history search (in terminal) |
| Ctrl+Shift+A | AI assistant panel |
| Ctrl+Shift+L | Send terminal selection to AI |
| Ctrl+Shift+D / Ctrl+Shift+U | Split terminal left/right / top/bottom |
| Ctrl+, | Preferences |
| Ctrl+H | About & shortcut guide |
| Esc | Close current dialog or menu |
For the complete list, refer to the in-app Help → Keyboard Shortcuts.
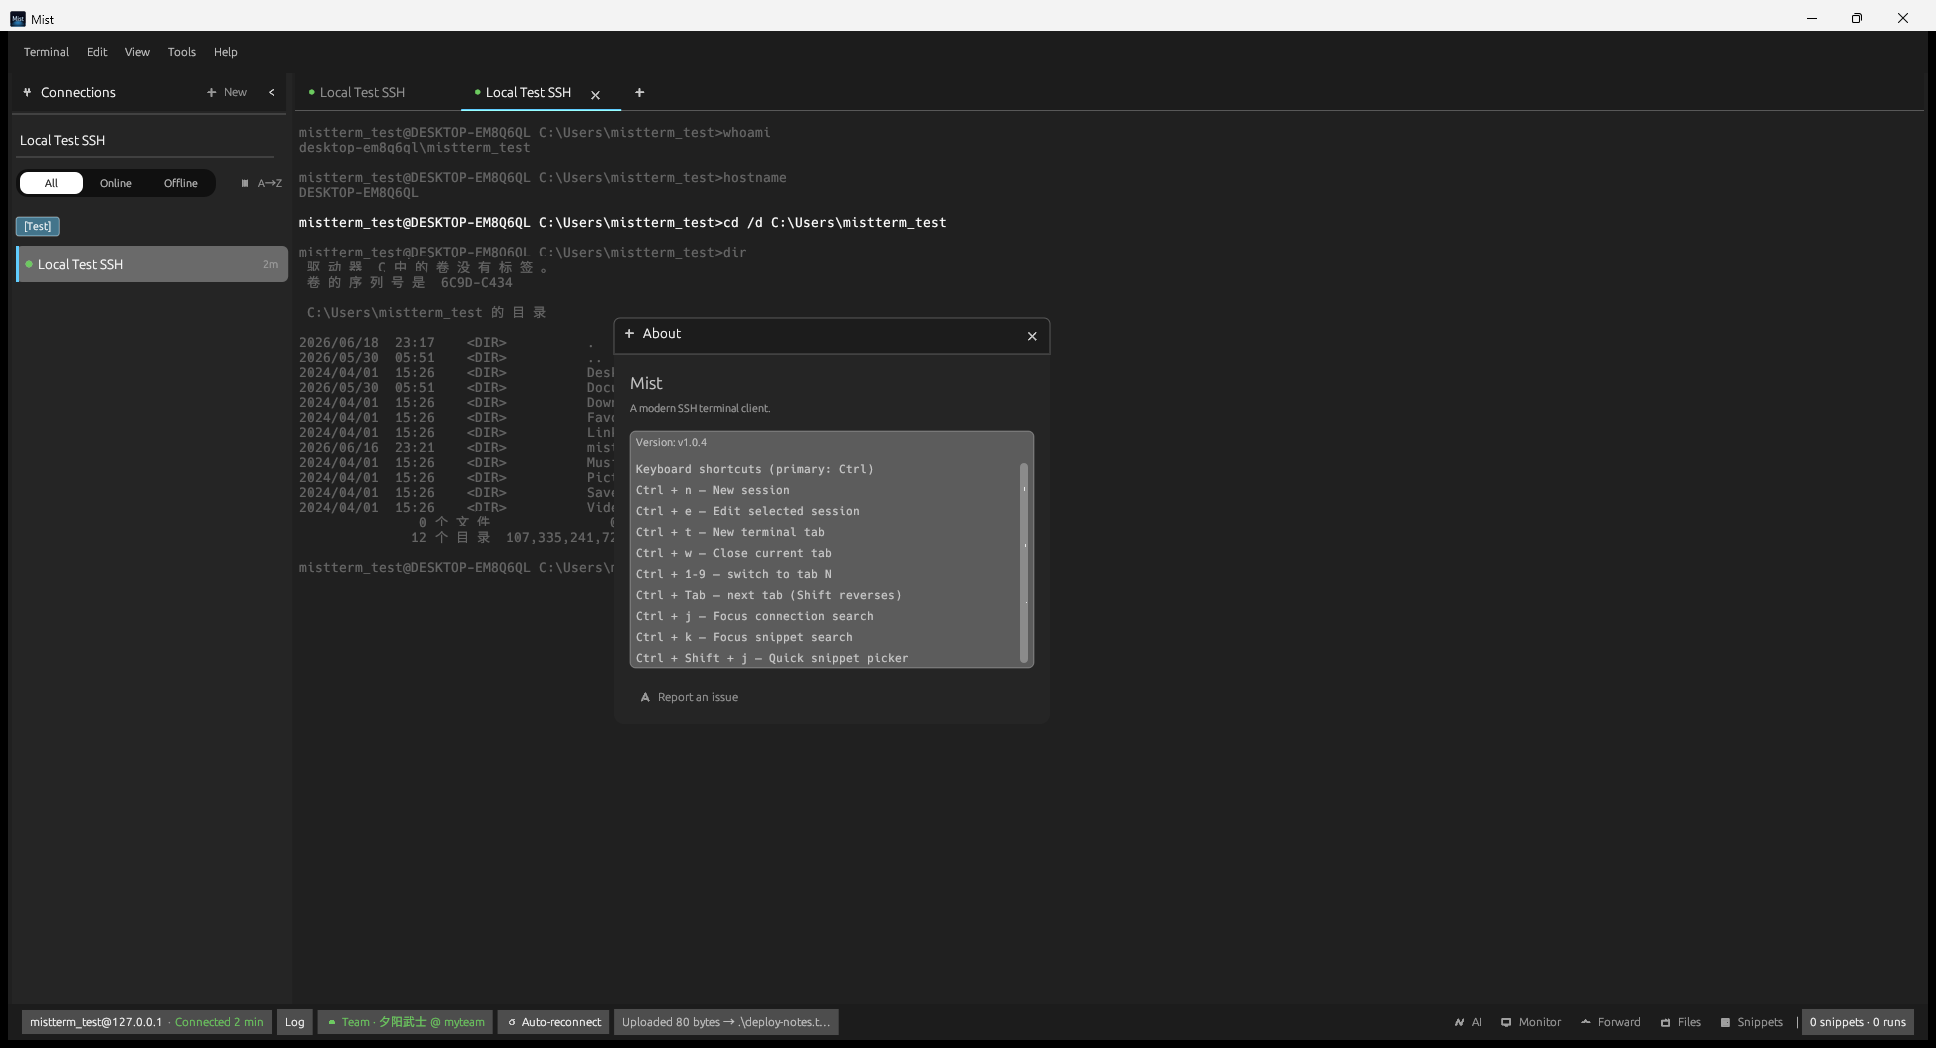
*Fig 14-1: In-app Help — Quick Start*
- Check host, port, username, password/key
- Confirm your network can reach the target IP (try ssh from your system first)
- If a jump host is needed, configure ProxyJump in session advanced options
- Check the bottom bar for error messages
- Wait a few seconds for the shell to initialize
- Verify language and font in Preferences; Chinese environments generally auto-select an appropriate font
- Confirm SSH is connected (same tab)
- Check write permissions on the remote directory
- Verify the local target path exists and is not read-only
- Confirm lrzsz is installed on the server (which rz)
- Use rz -bye for uploads
- Do not switch tabs or disconnect during transfer
- Normal behavior: MistTerm encrypts local configuration; modify settings only within the app
- Windows: Settings → Apps → MistTerm → Uninstall
- macOS: Drag MistTerm to Trash; configuration remains in Application Support/mistterm/ and can be deleted manually
Go to GitHub Issues and describe the problem, version, and OS. Do not paste passwords or keys in issues.
*MistTerm v1.0.4 User Manual · MistLab*